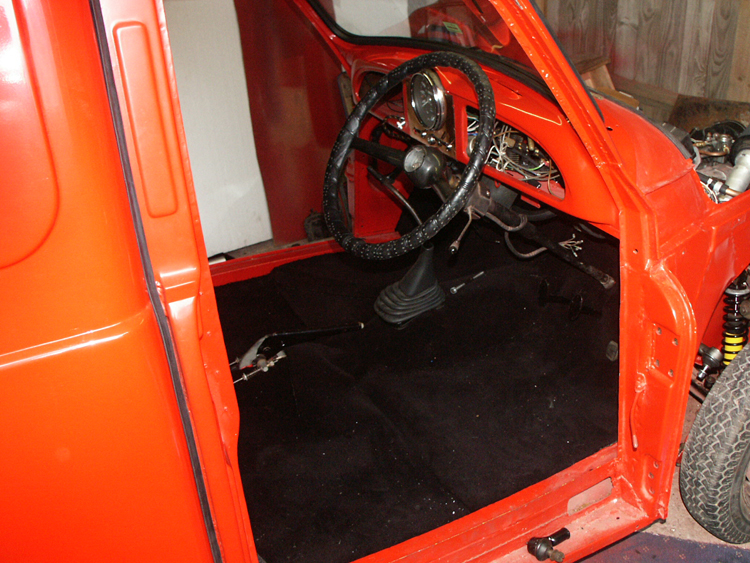
 From this.
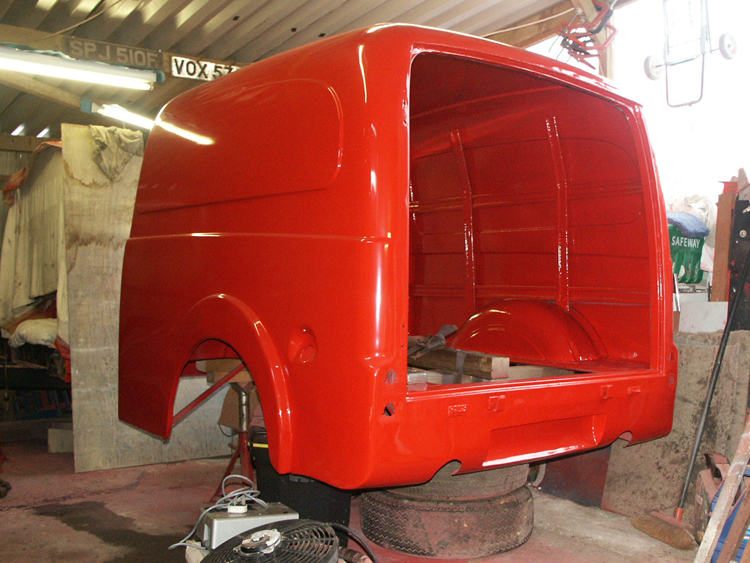
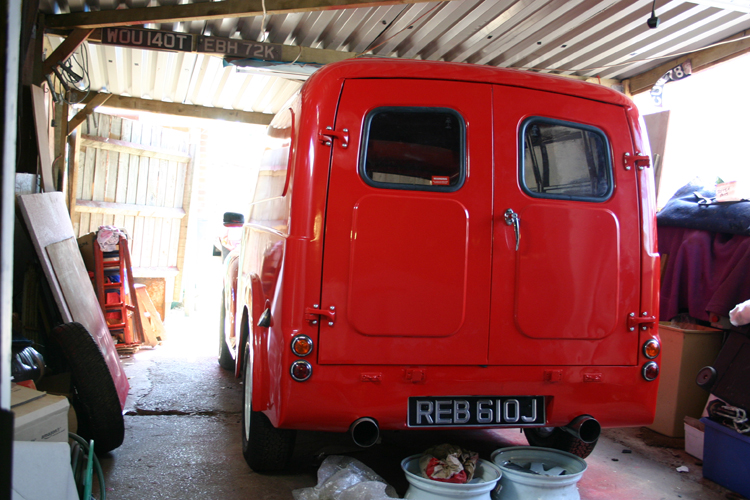
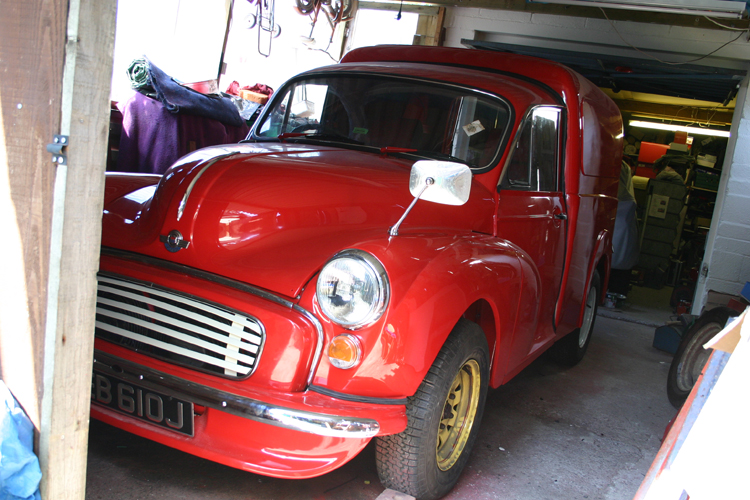
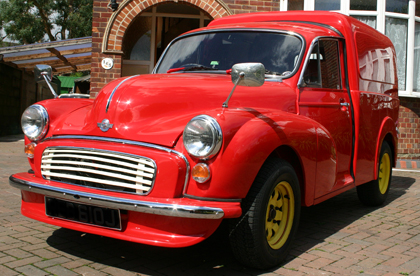
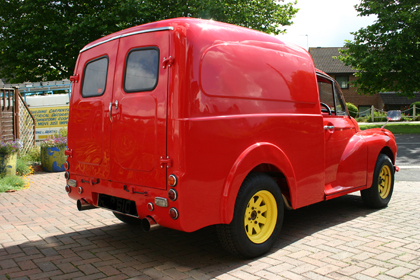
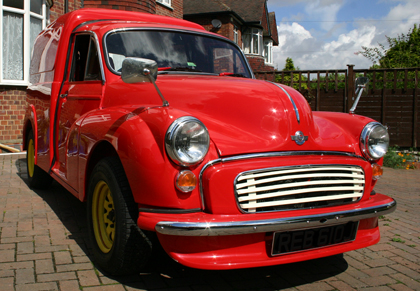
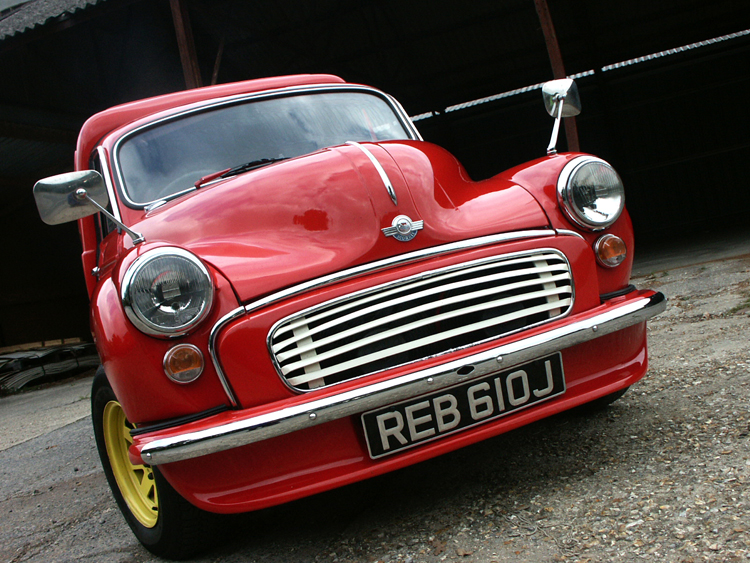
 To this, in 2 years.
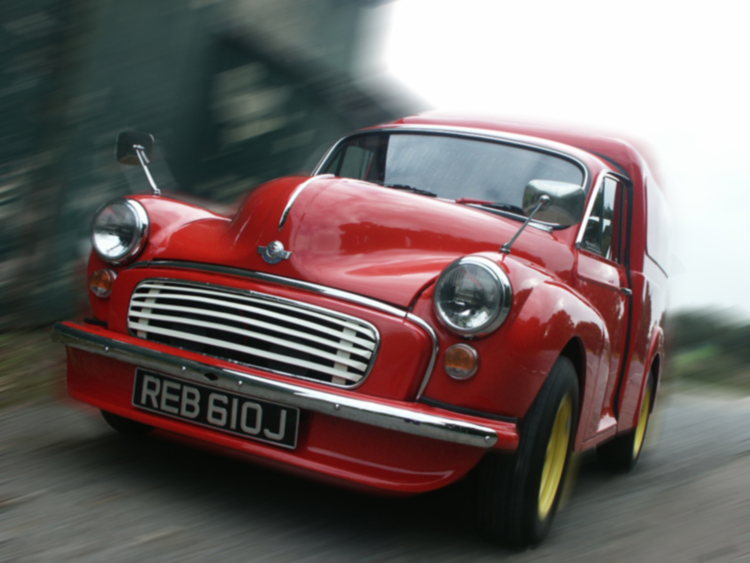
 My Morris 1000 Van, Becky.
First purchased in Feb 2000, and after 4 years of trouble free motoring, with daily use and flying through Every MOT. I thought it was about time she deserved a bit of TLC, wont take more than a couple months surely.
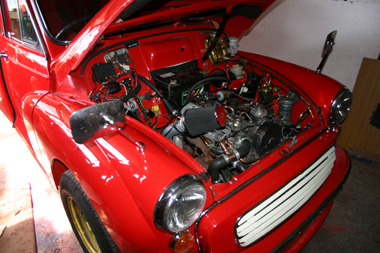
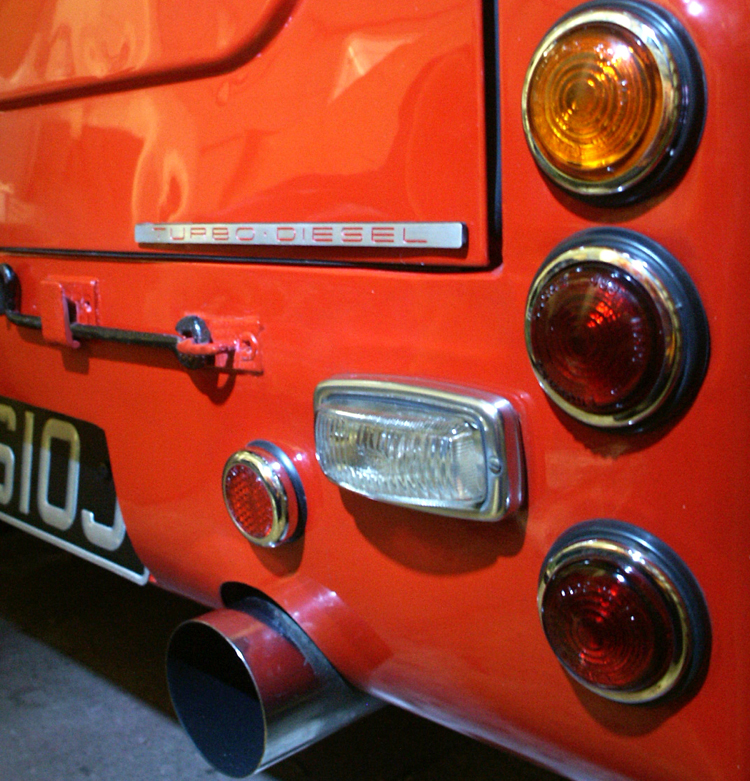
Then, after 2 years almost everything is finished. I also did an engine conversion aswell to help with the fuel economy. After putting much thought in to the project I decided on a Perkins 2 litre turbo diesel engine. Every thing took much longer, and cost huge amounts more than I thought, but worth it in the end as I couldn't be happier. I can't help but grin when I drive her. And best of all, I've got the only Turbo Diesel Moggie known to exist!!!
Click on pictures to make larger.
From this.
To this, in 2 years.
People ask why my van needed restoring when everything looked so nice before.
Well even I didn't quite expect what is to follow myself!!


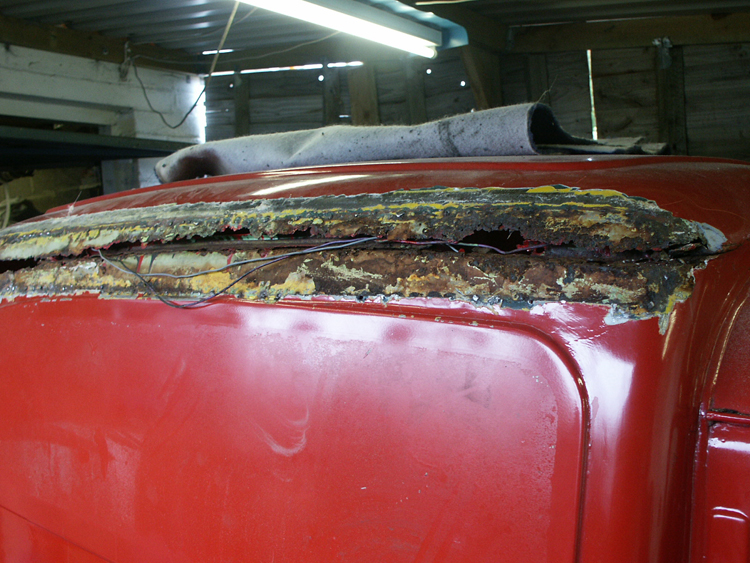
That was the drivers side.
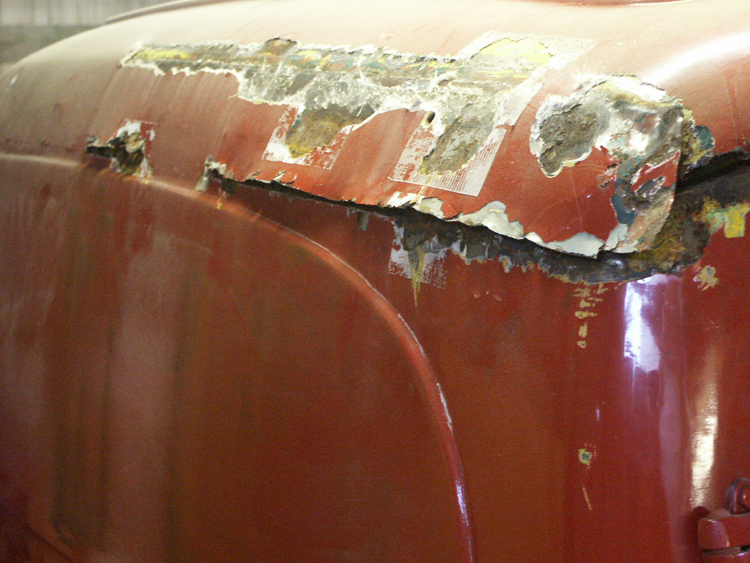
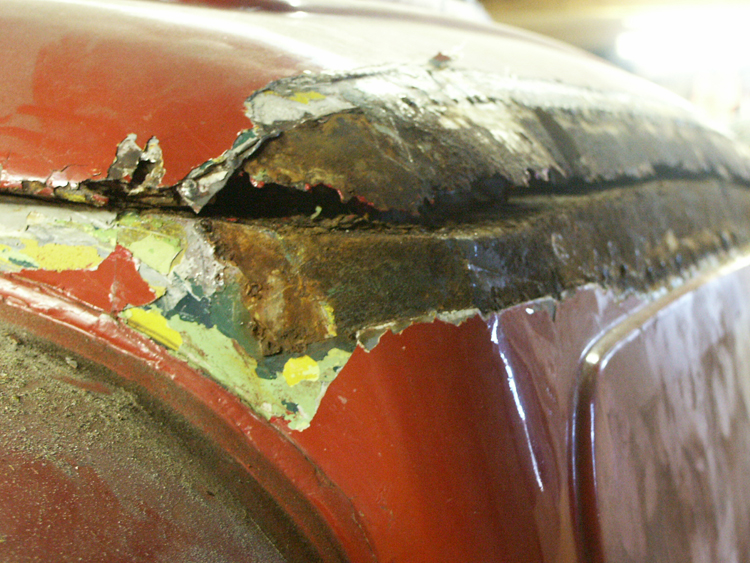
And passenger side just as bad. And across the front, and the back!
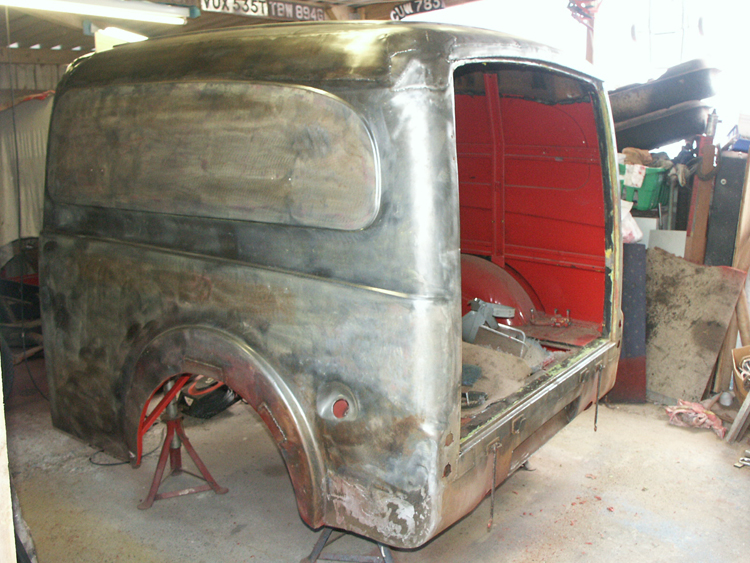
All hiding under a mountain of filler. Knowing very little about panel beating I enlisted the help of a good friend to teach me. And before long the rot was cut out and new metal let in. Although looking back on it now, I wish I'd done it slightly different. The back end was now left for a bit, and removed from chassis later on before finishing.

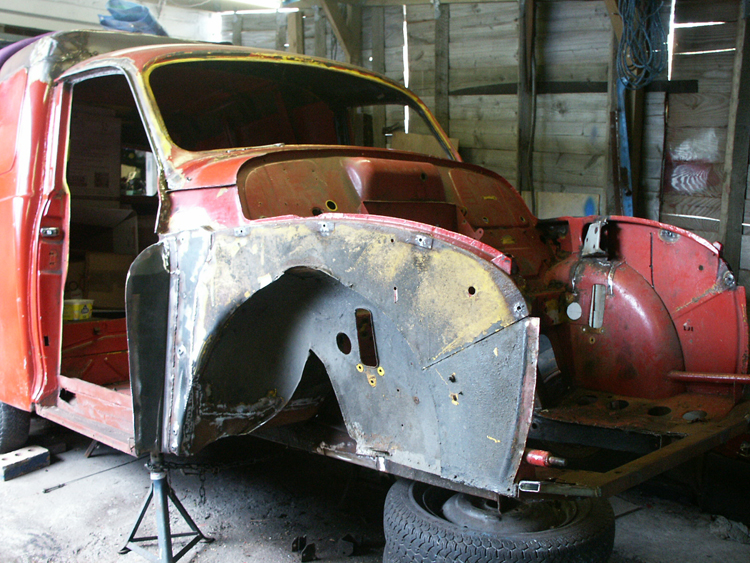
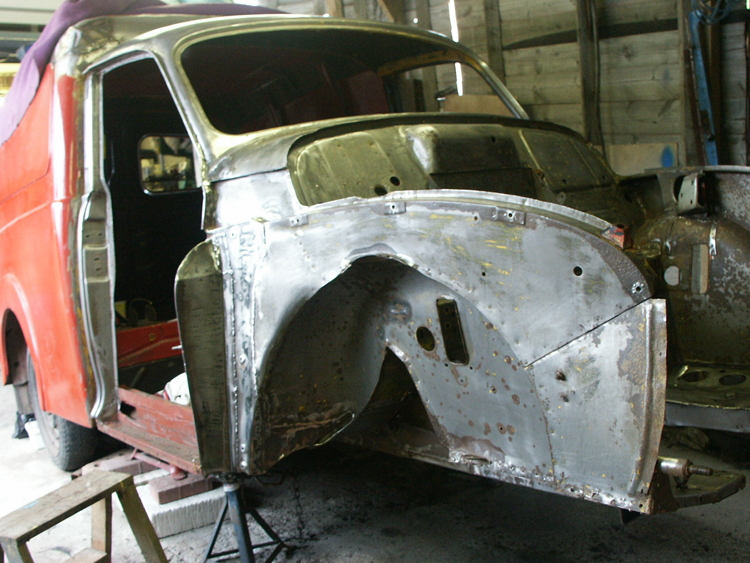

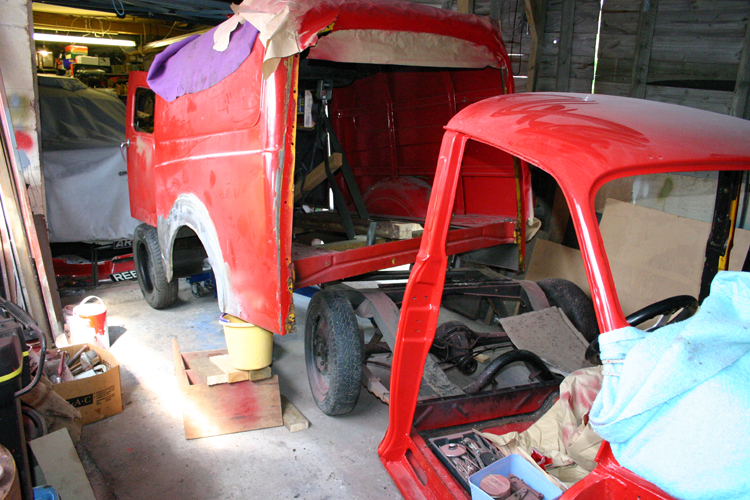
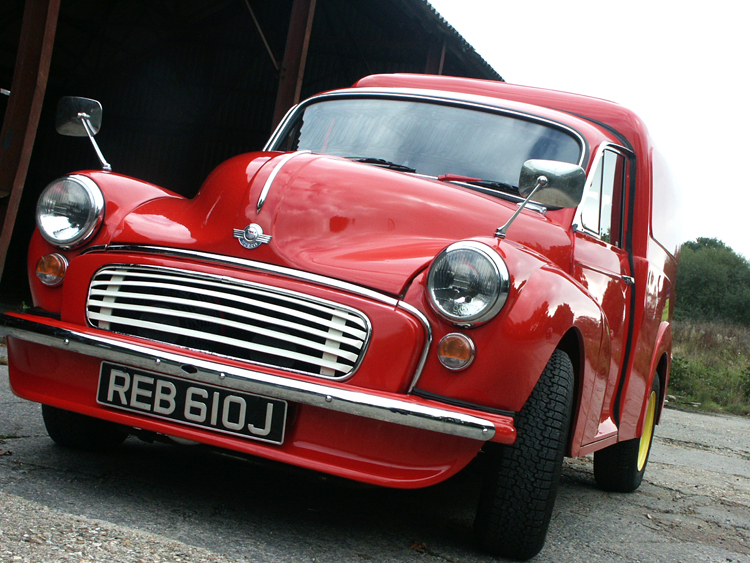
I then started on the front end. The cab gutters were getting bad so replaced them aswell.
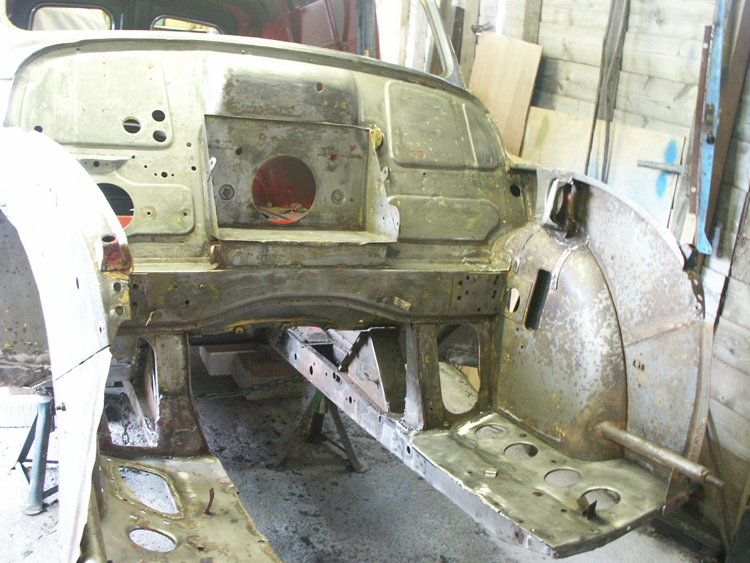
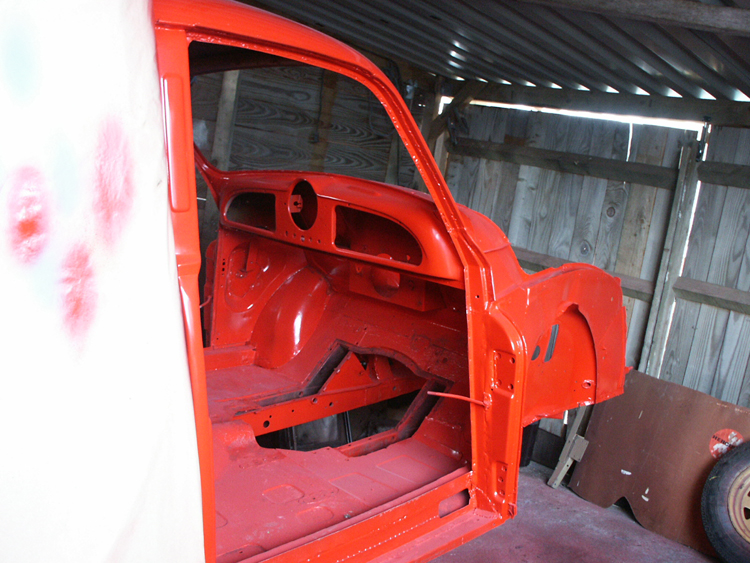
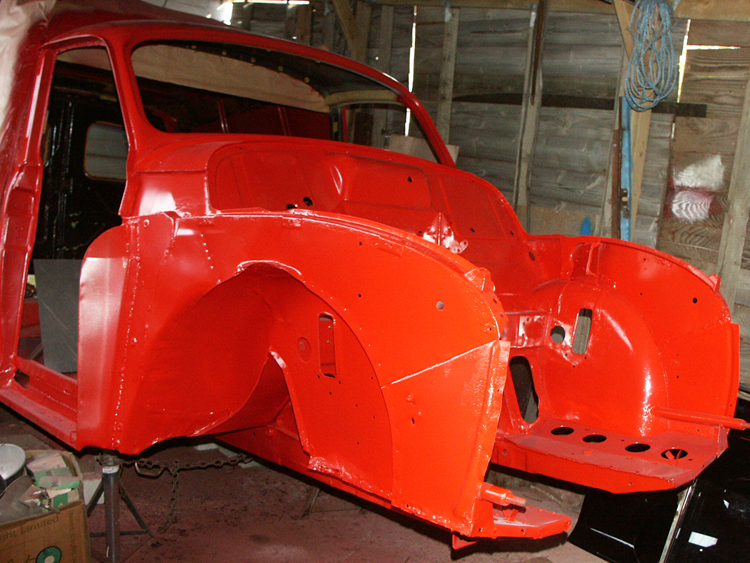
All bare metal respray as I want everything done right. Now the progress is happening.
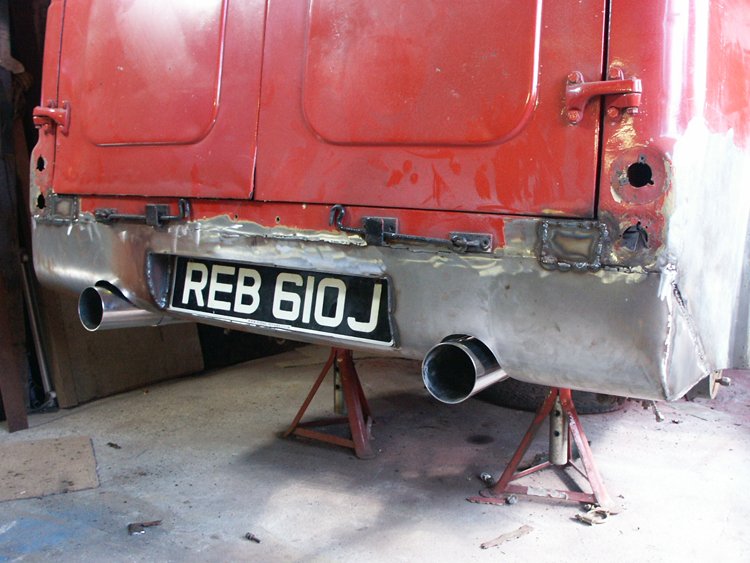
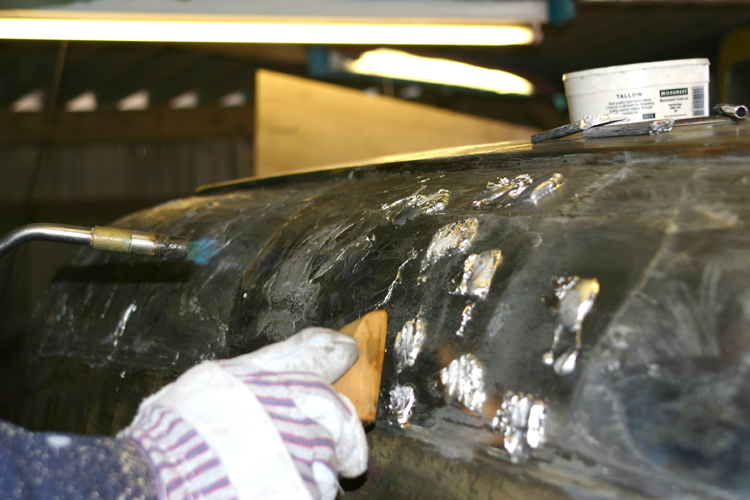
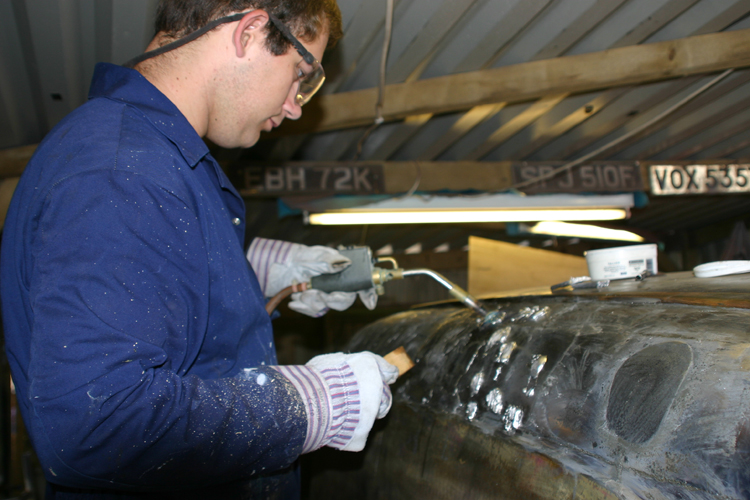
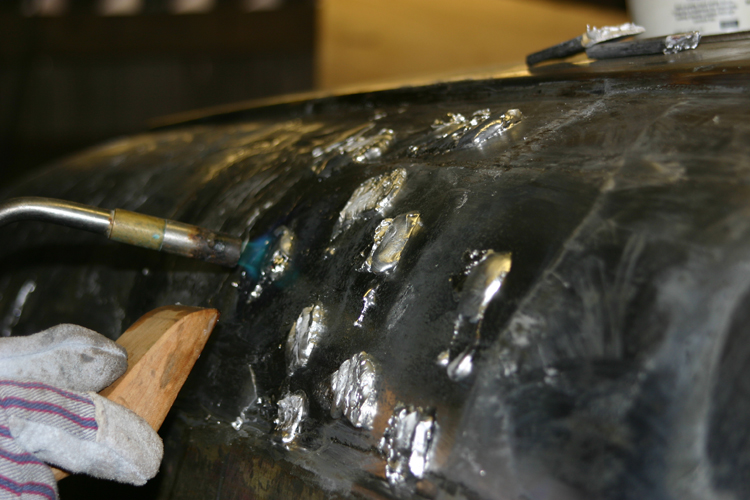
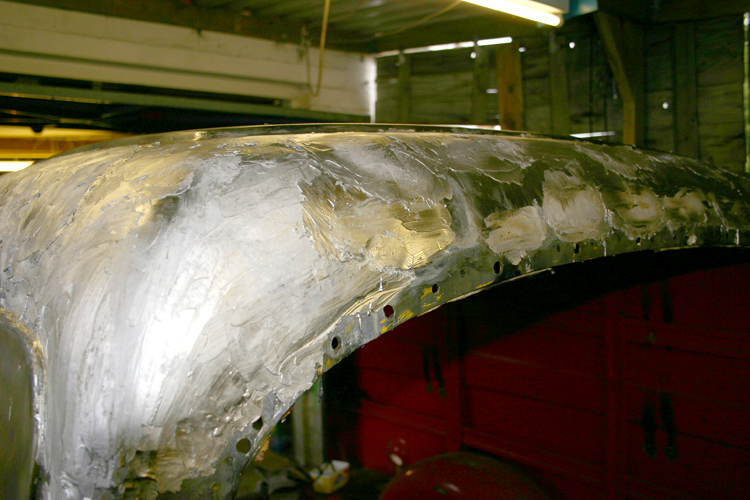
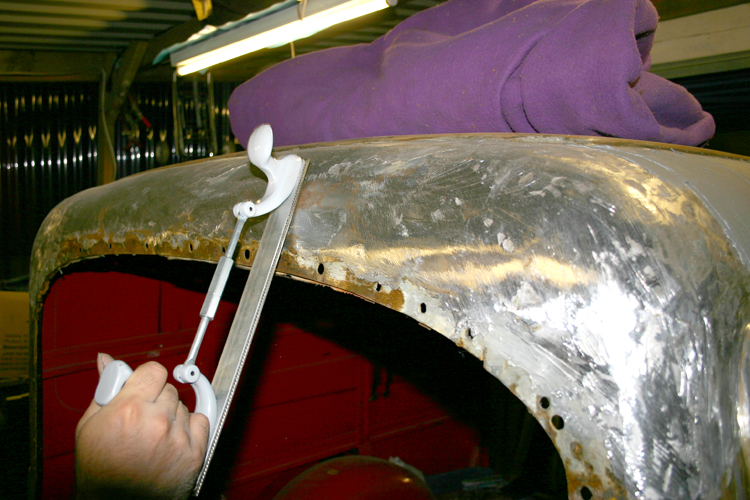
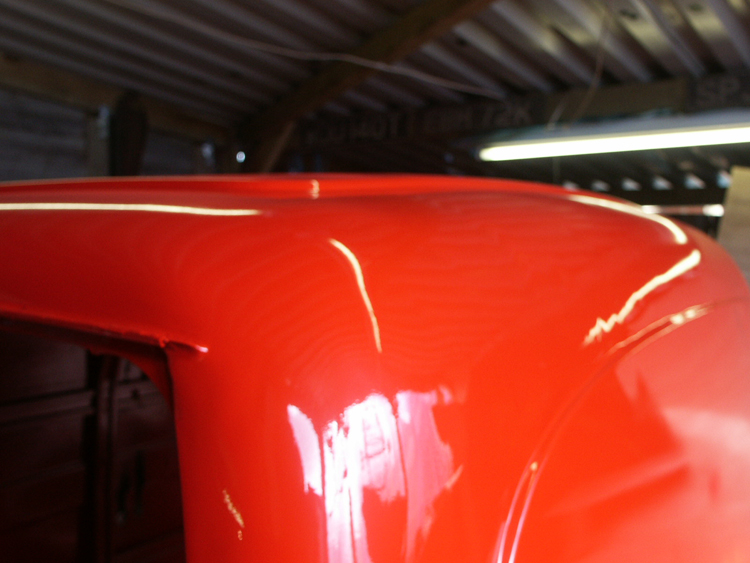
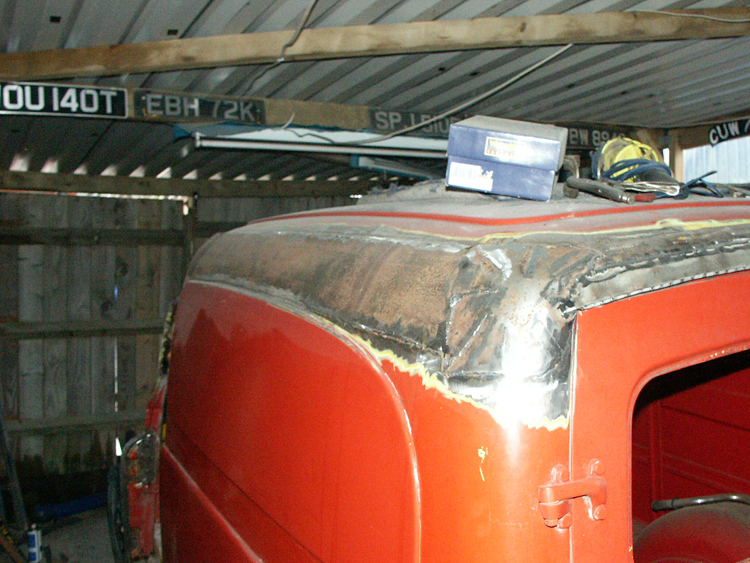
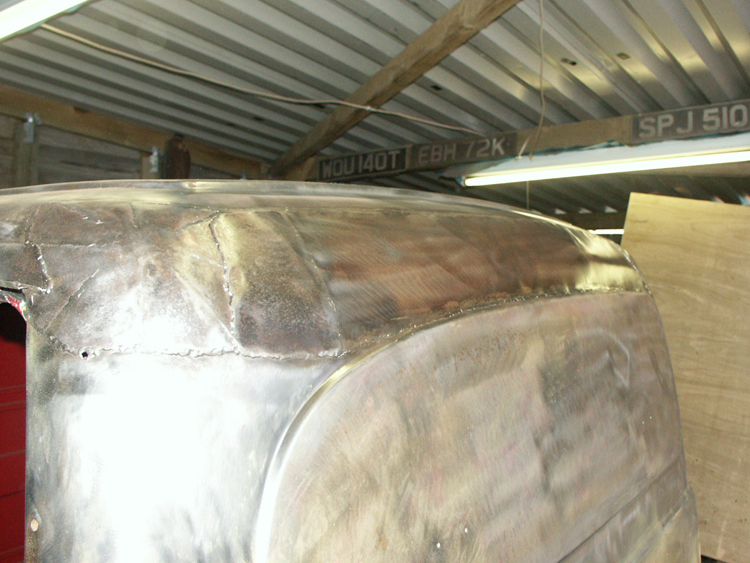
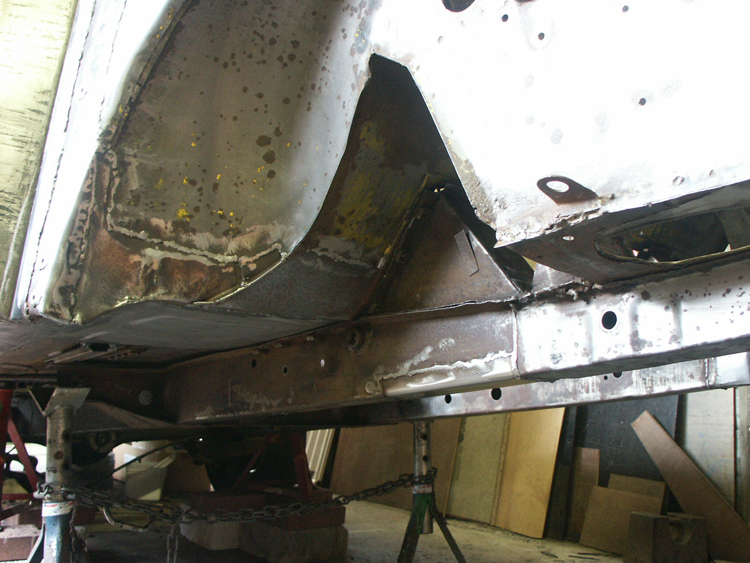
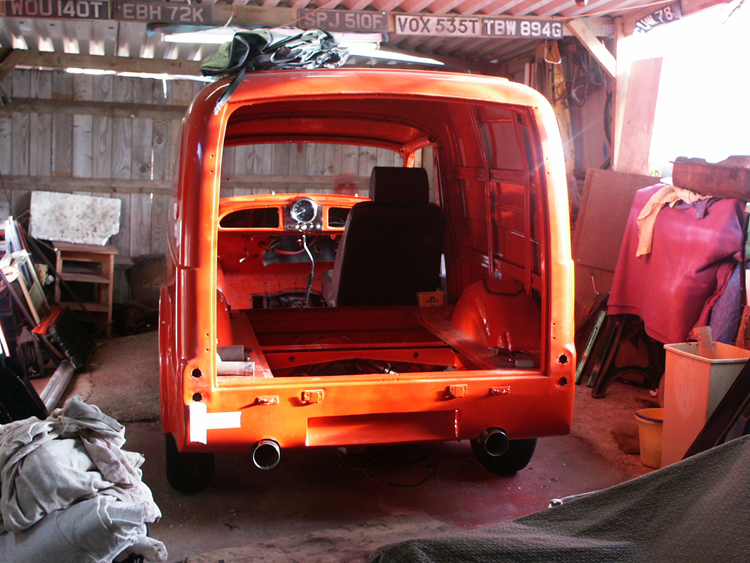
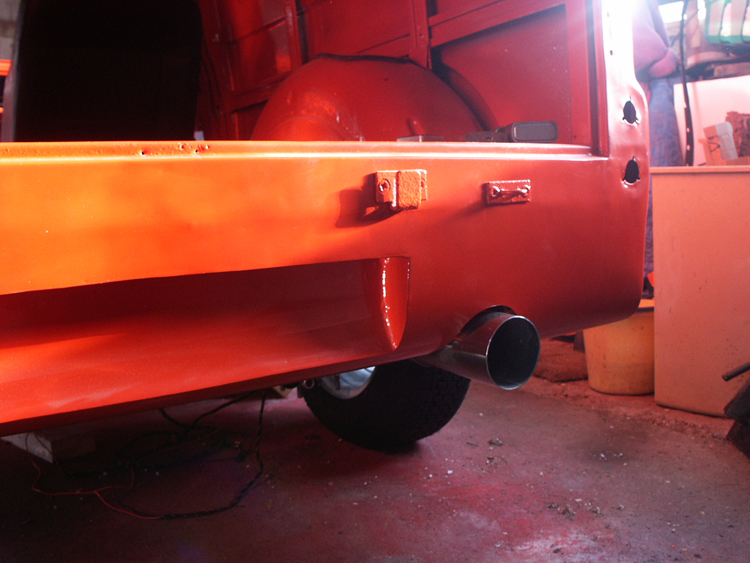
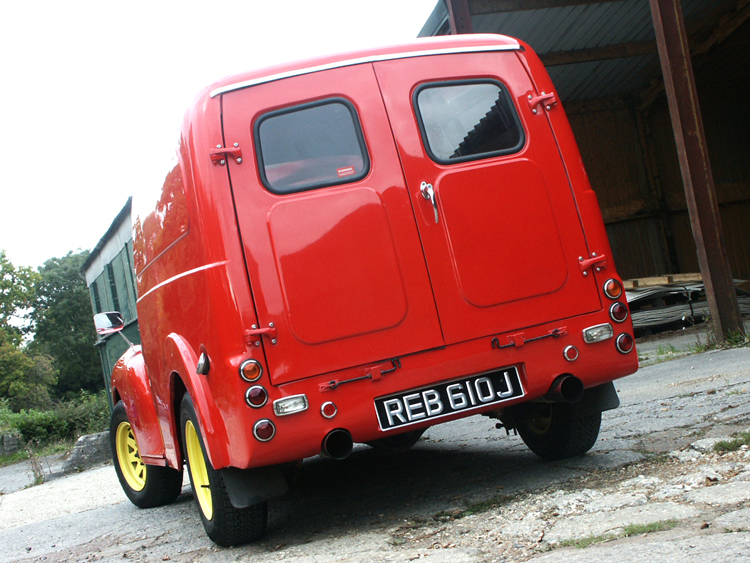
The back end was then removed from the chassis, and I made up the rear valance with frenched in number plate. Then I carried out a bit of 'lead loading' to smooth the roof line off nicely before paint. Another self taught skill, not an easy one either!
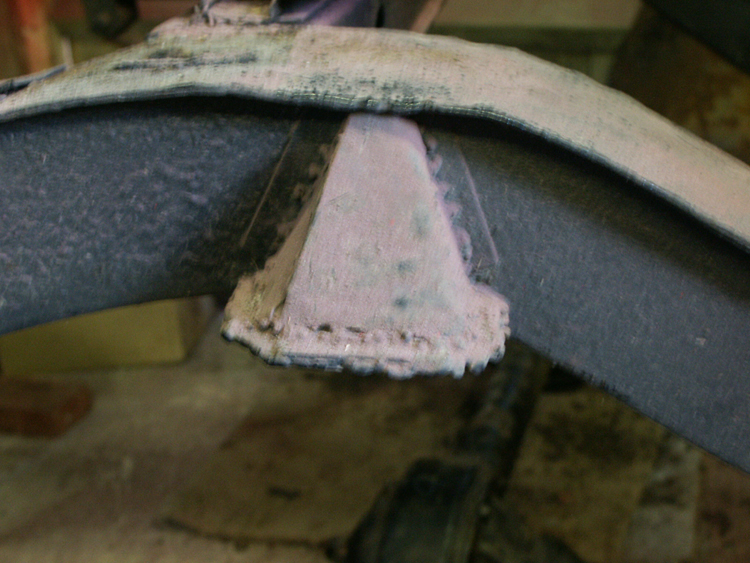
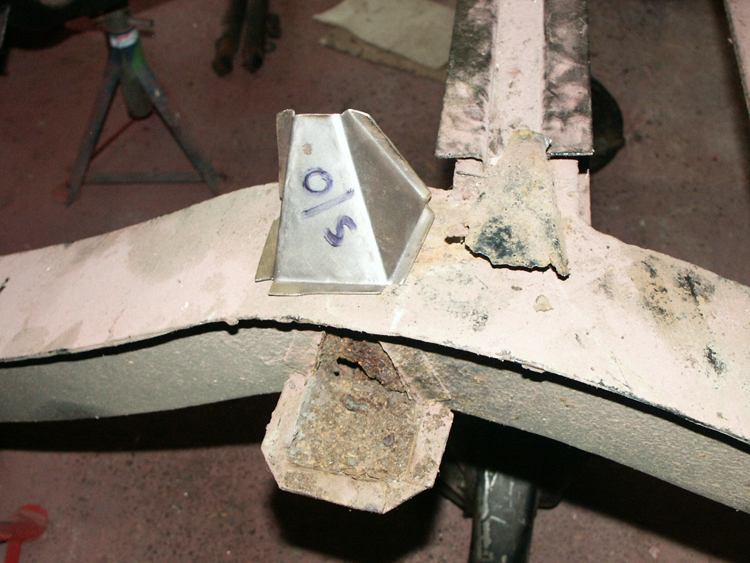
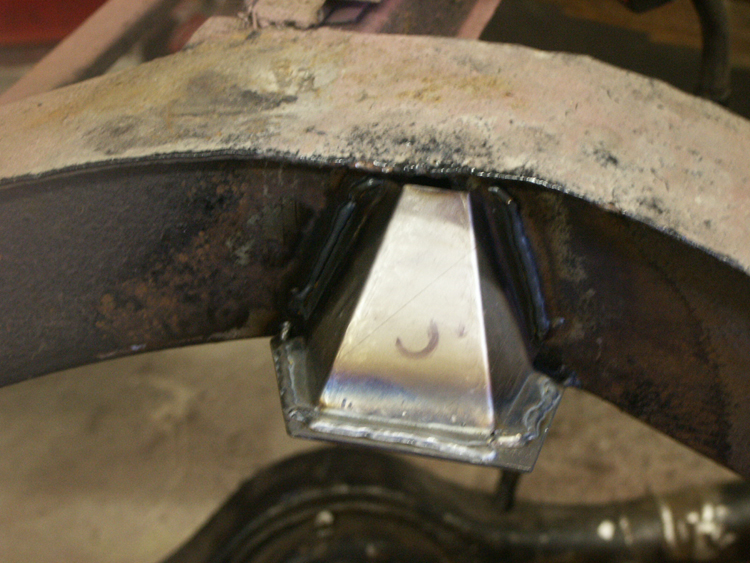

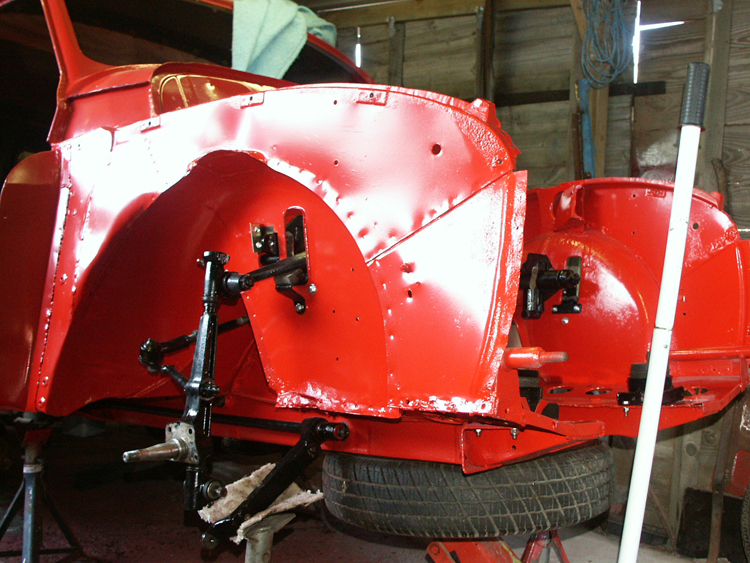
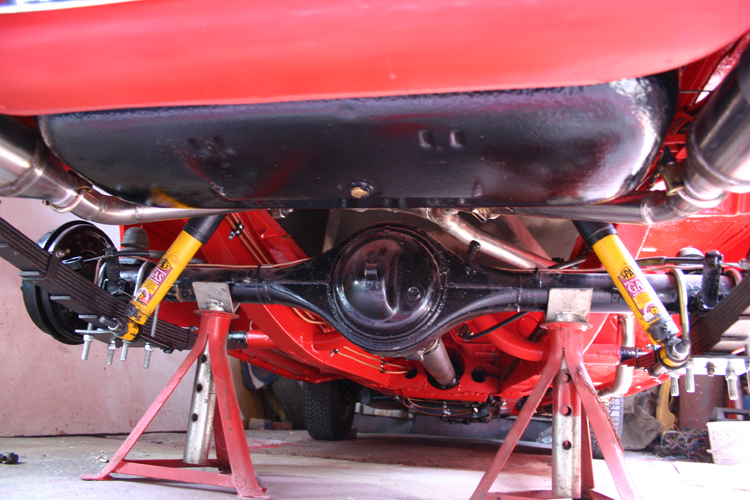
This being the only rot in the chassis, I made up new ones and finished everything off ready for the body to go back on.
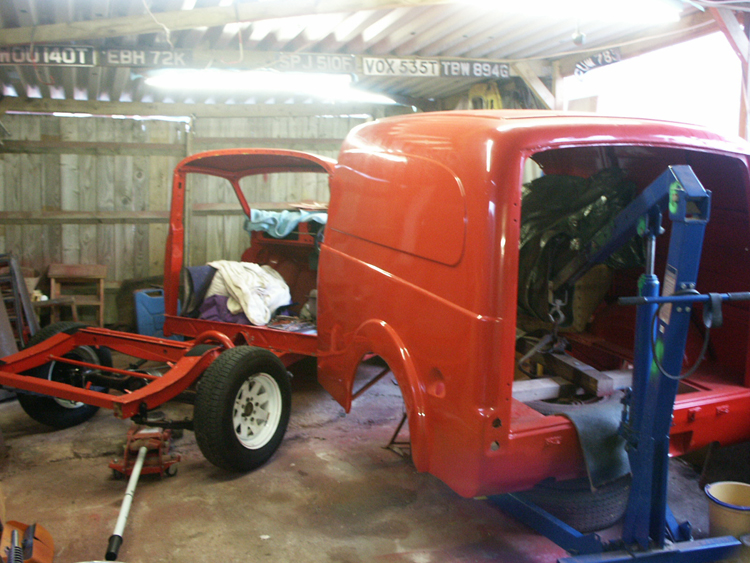
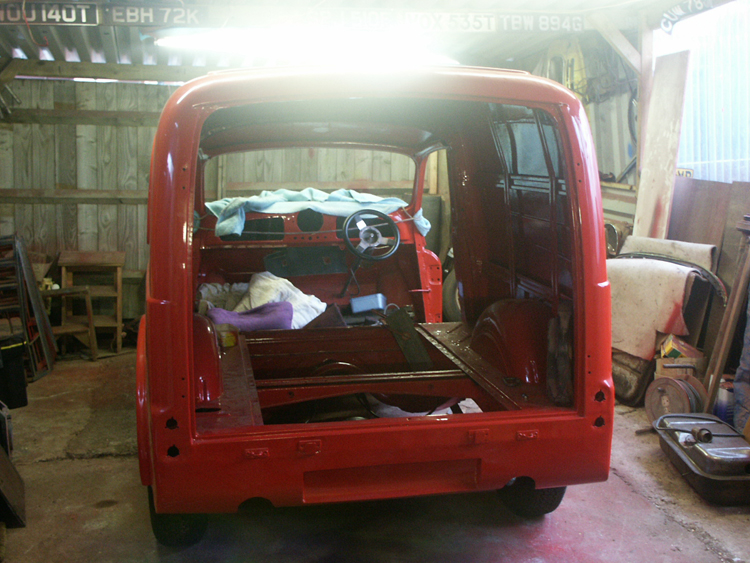
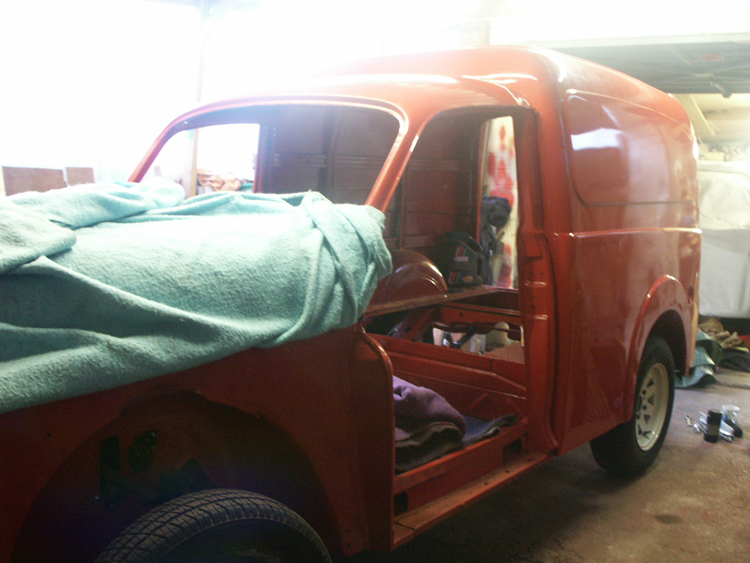
Back end now back on again.
Things are starting to look up.
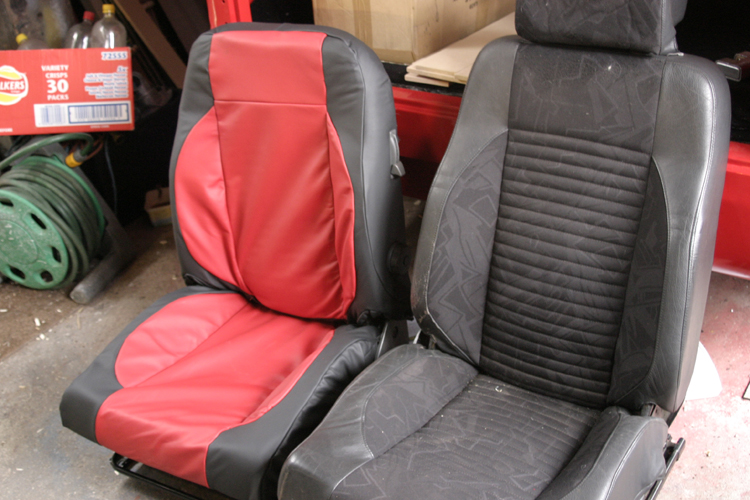
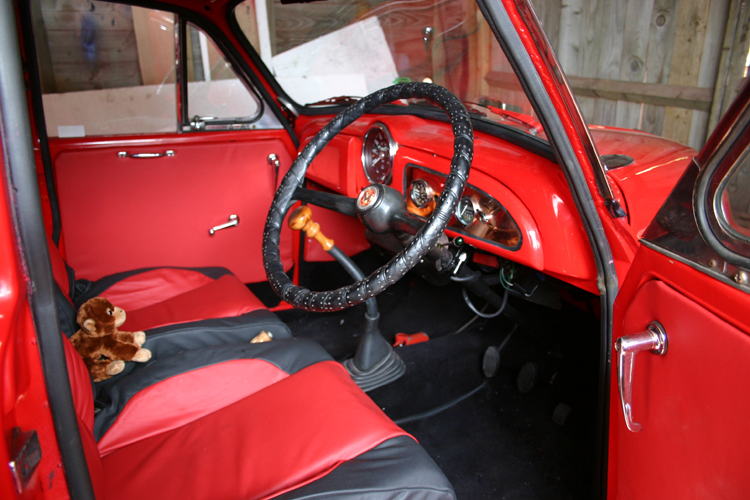
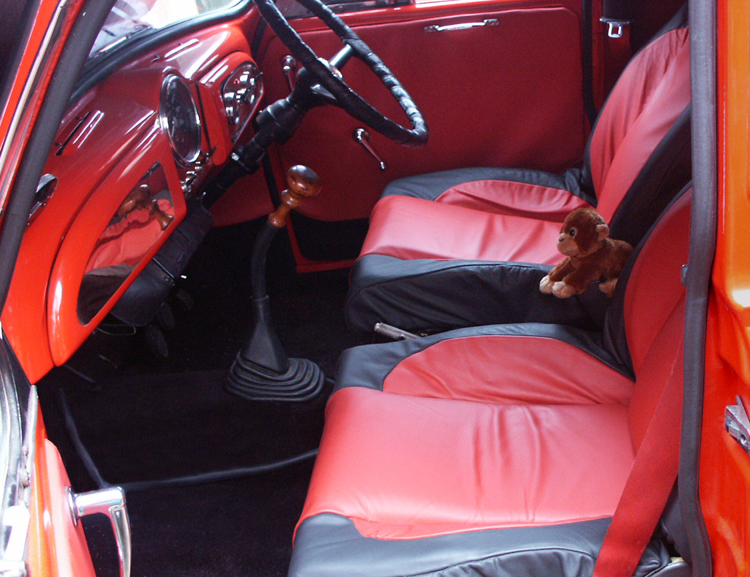
After buying a few hides of real leather, mum told me her sewing machine wasn't up to the job, oh! So after a bargain on ebay I had a new industrial machine on the way. Leather not being easy to work with, and having never trimmed a seat before, this was a huge learning curve, and another self taught skill.

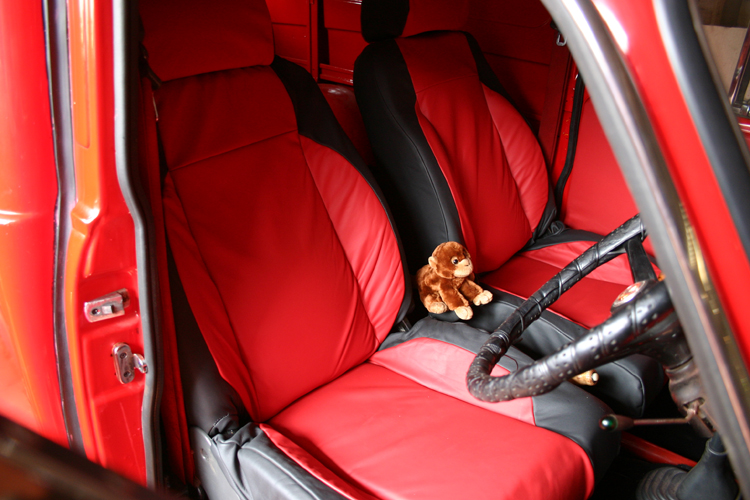
And I got there at last. Still a few things to finish off but ready for the first outing.

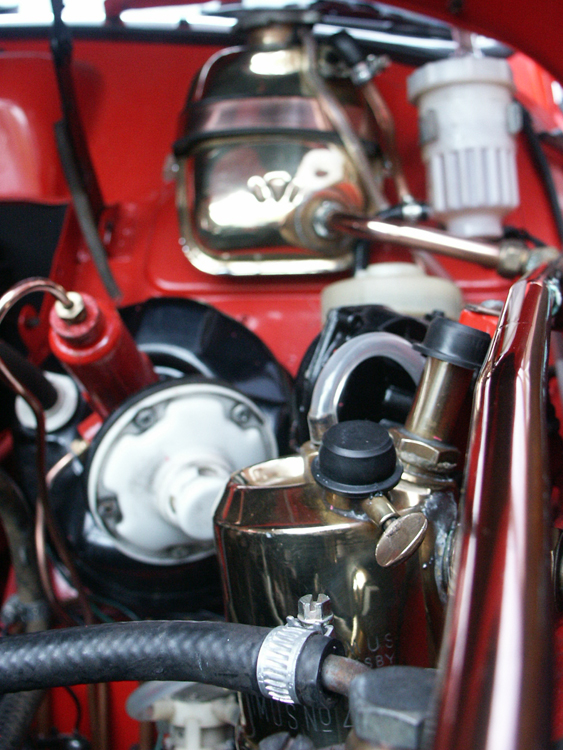
After 2 years on the road, I am finally getting everything finished. The engine very early on developed a smoke problem, which later led on to water entering the sump due to a crack in the engine block. I bought a brand new engine but it needed assembling and due to still needing a couple bits for that engine, my good friend Geoff came up with a used, but very sweet engine, this was installed and now my little van is back on the road again, yay!