My 1977 Mustang II, Marissa.
No matter how long you look, or how hard you try, to find that dream car. At the end of the day it still just isn't going to be exactly how you want it. There's only one way to get this, buy the best car you can, then pull everything apart and build it how you want it. That's why after years of wanting this Mustang I just had to go through the whole car and do everything my way.
Click on pictures to make bigger.
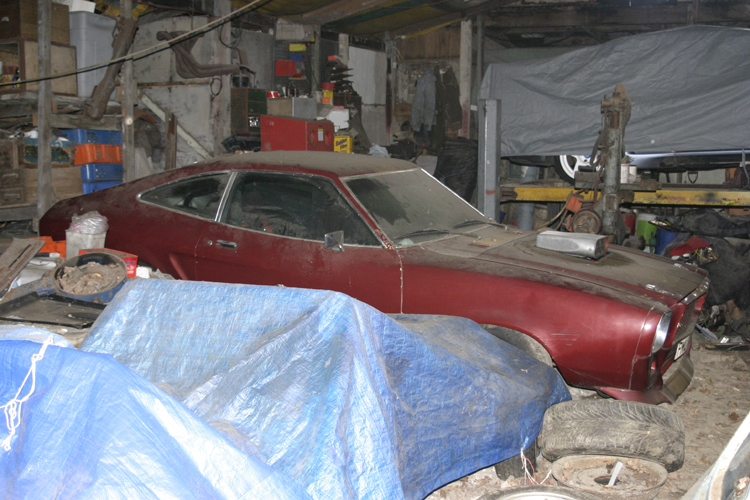
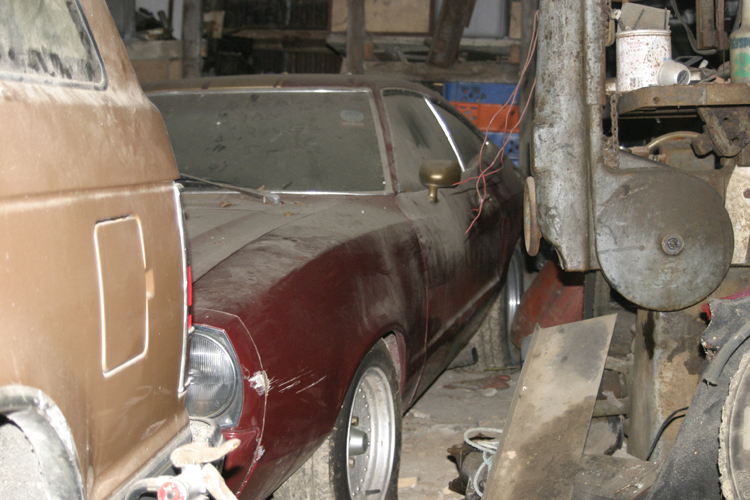
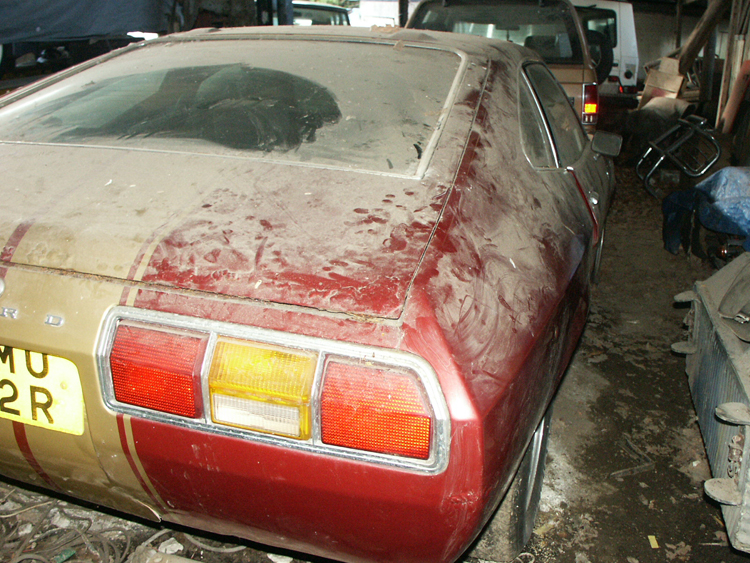
As found in the barn.
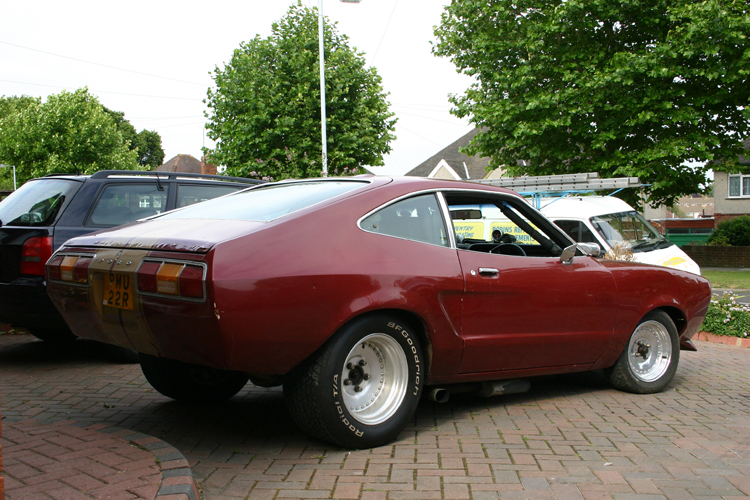

Just after delivery and a good clean.

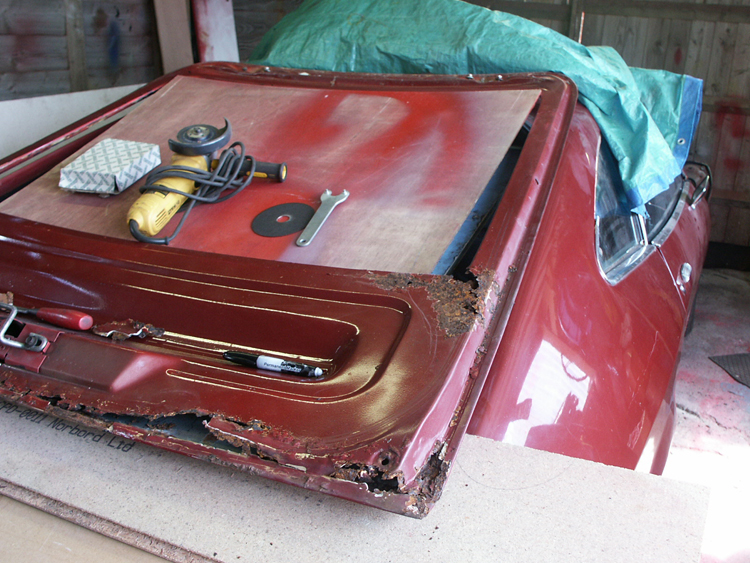
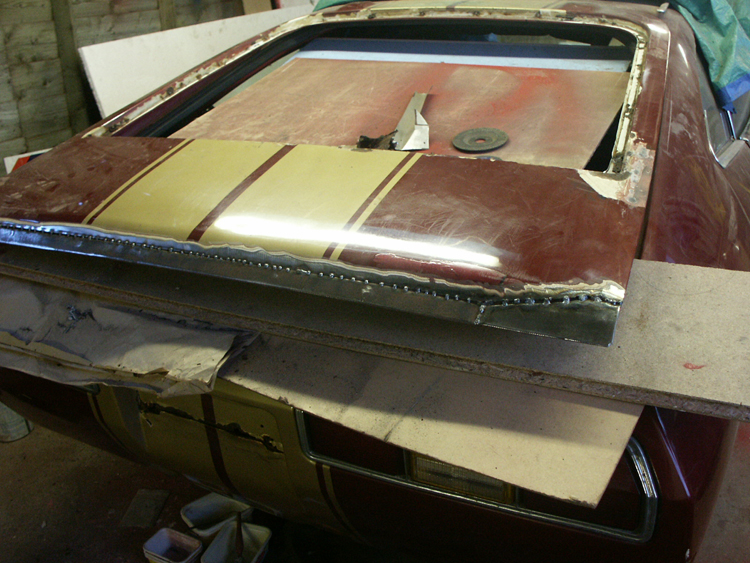
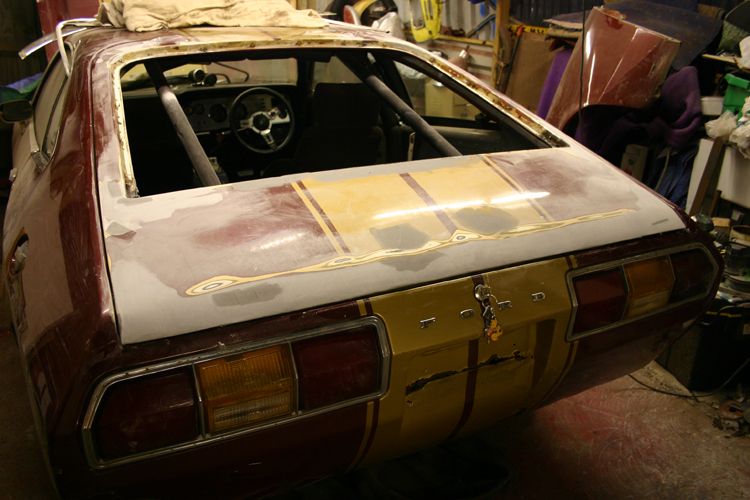

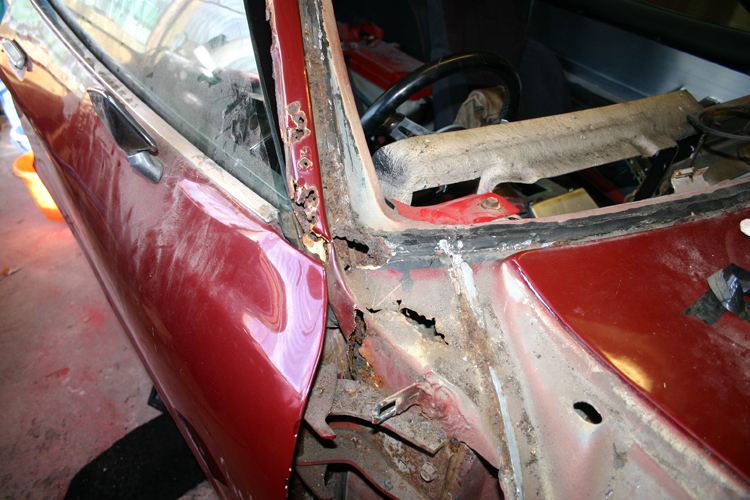
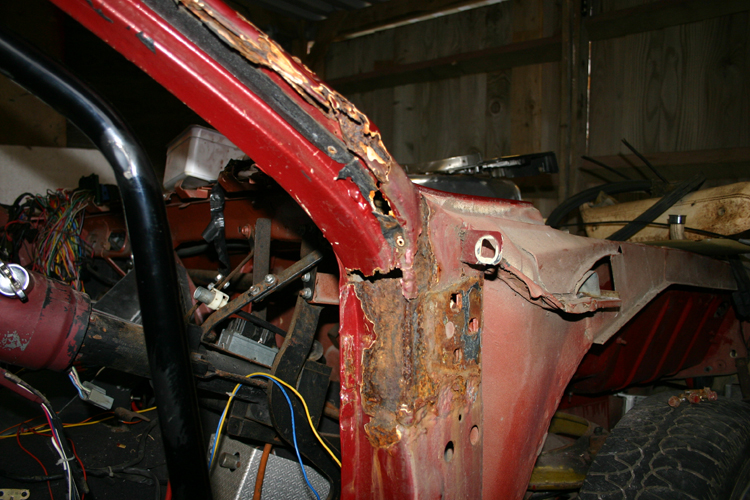
The boot lid was much worse than I thought, as they are so very rare, I had to make repair panels and rebuild it myself.
Next I replaced all the front bushes with polyurethane bushes from 'Energy Suspension' in the USA.
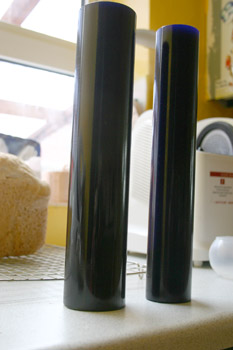
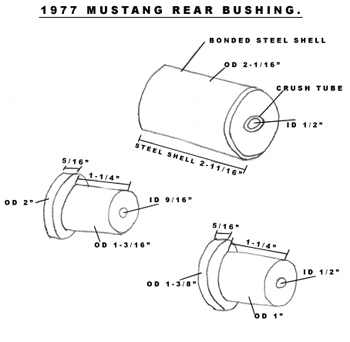
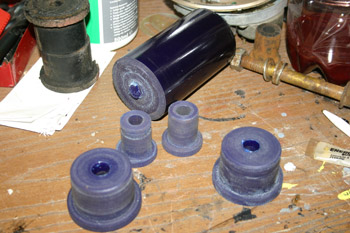
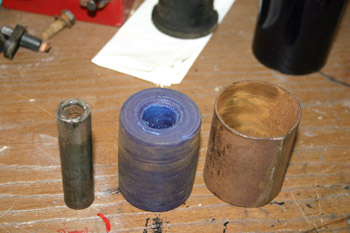
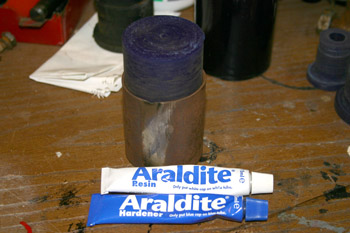
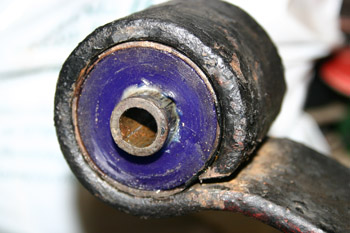
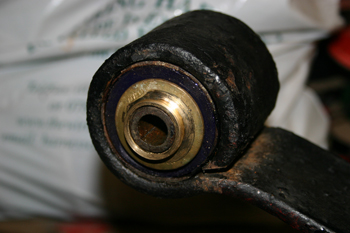
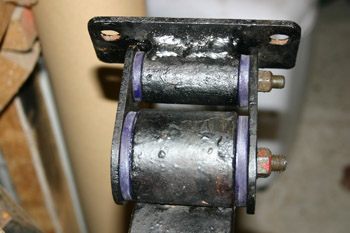
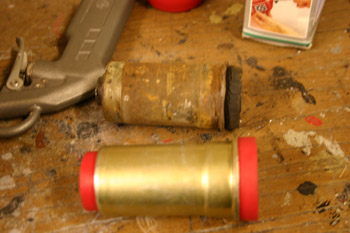
As nobody makes rear bushes for the Mustang II, I bought two bars of polyurethane from 'Super Flex' and turned up my own on the lathe using the diagram above.
![]()
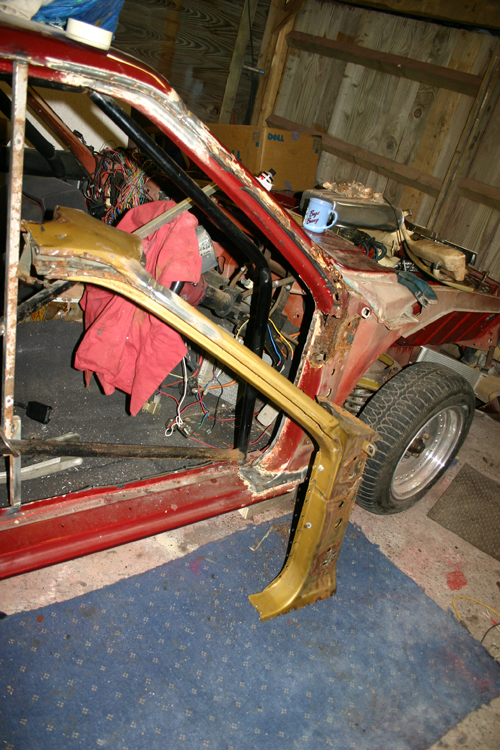
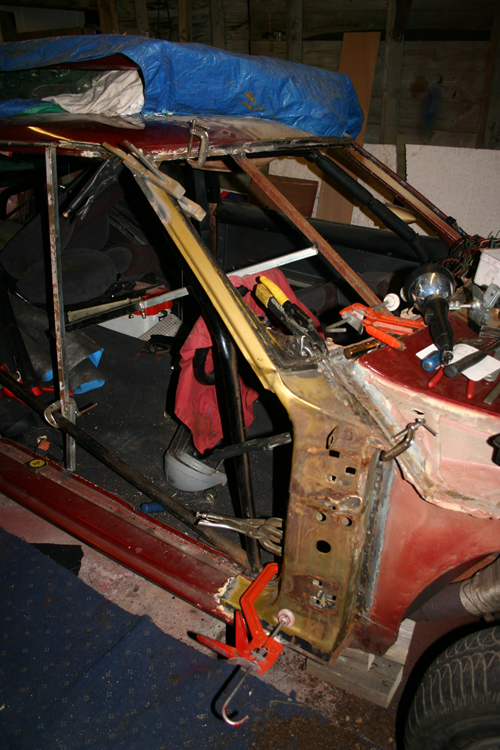
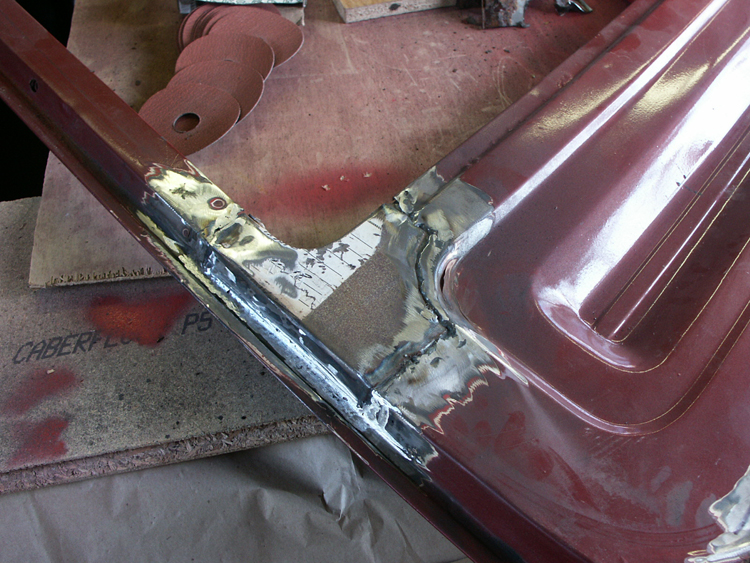
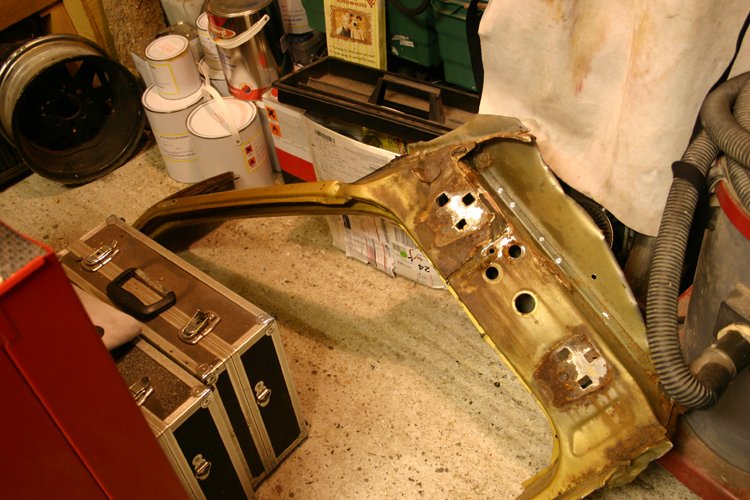
Replacing the pillar was hard work. But the spot weld drill helped make a much better job of it. And to look at the car you would never know.
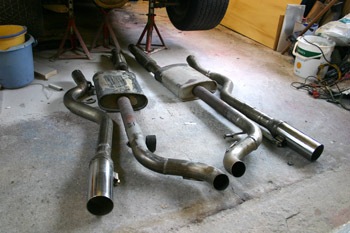
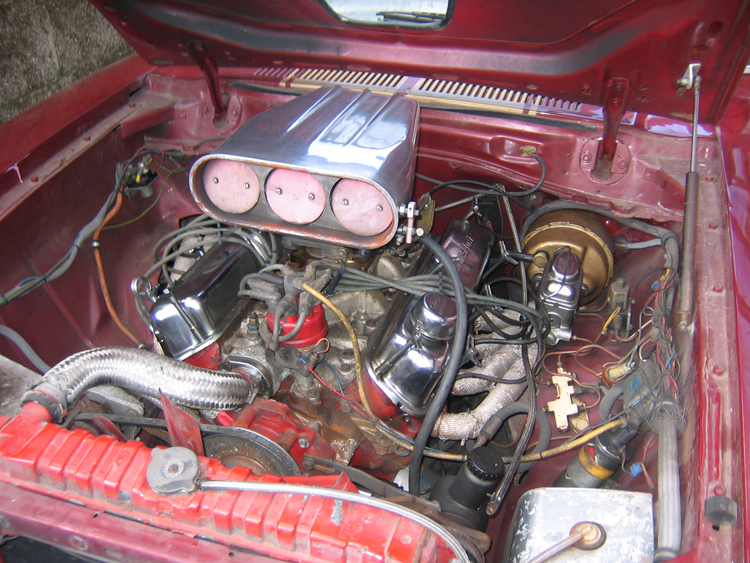
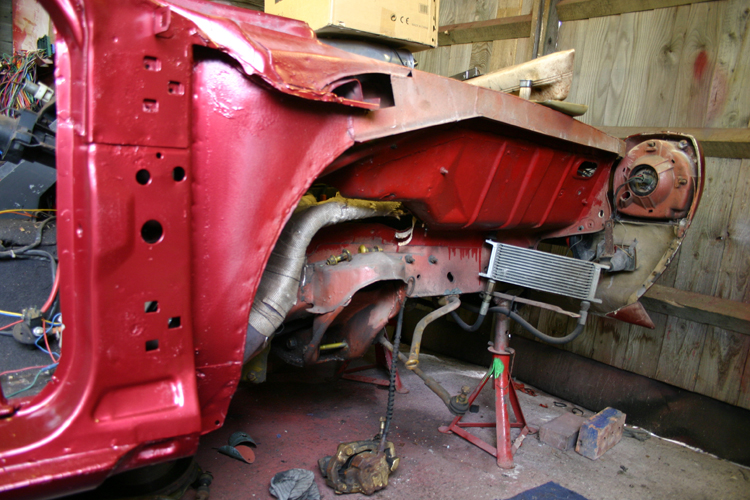
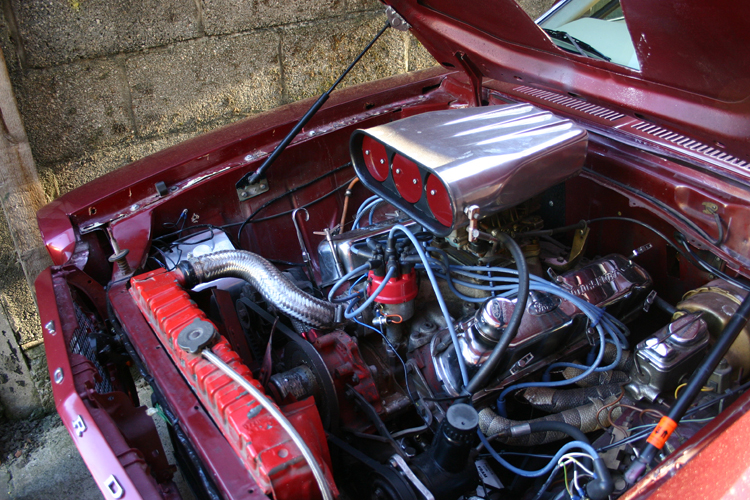
Next I took it easy and made up the new exhaust systems, all in 2.5 inch stainless steel, with flex pipes after the manifold. Although the manifolds are still mild steel at the moment.
update: I have now replaced the silencers with 'Cherry Bombs' and the sound is fantastic. stainless headers will follow someday.
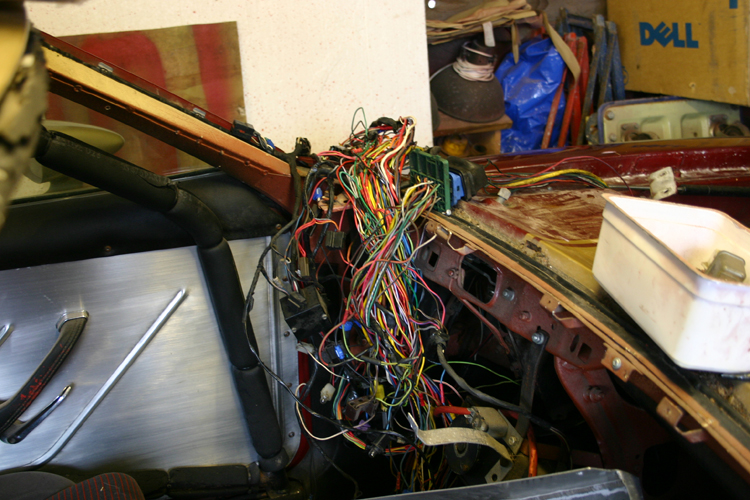
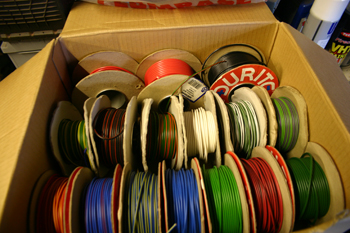
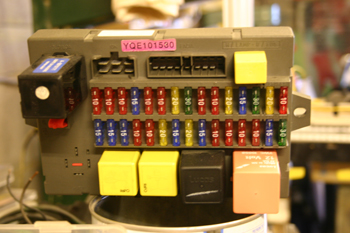
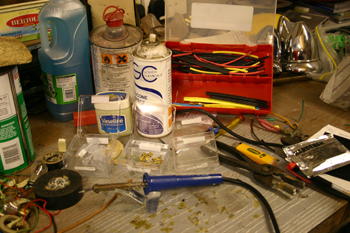
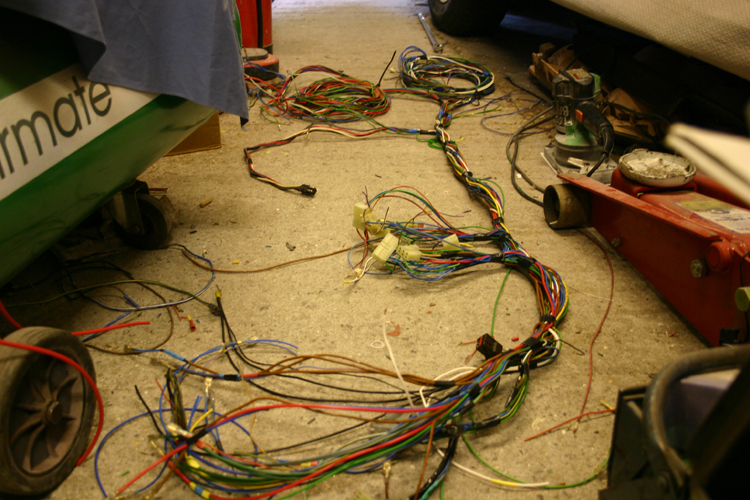
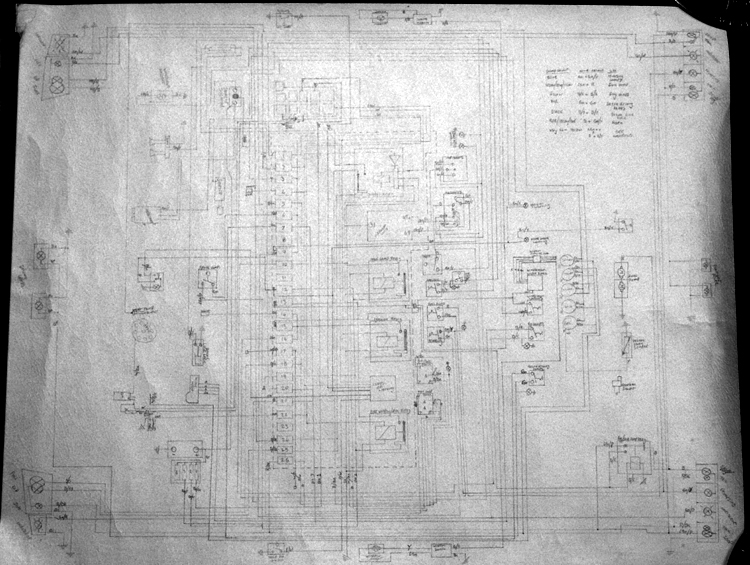
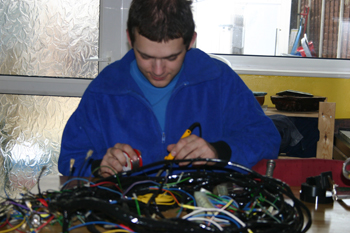
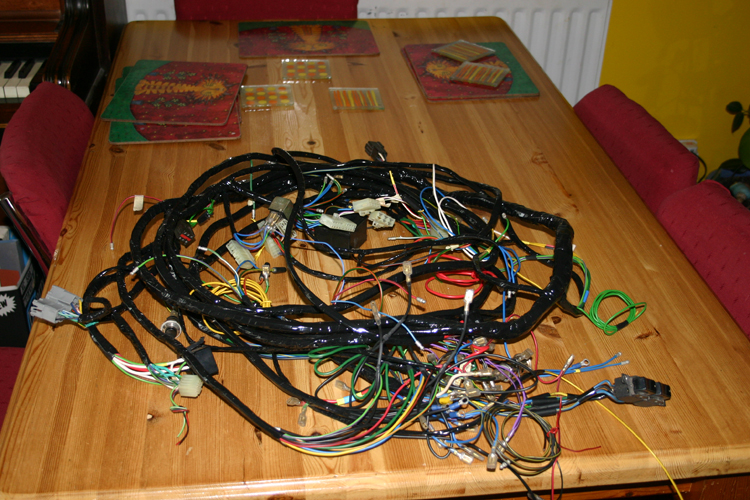
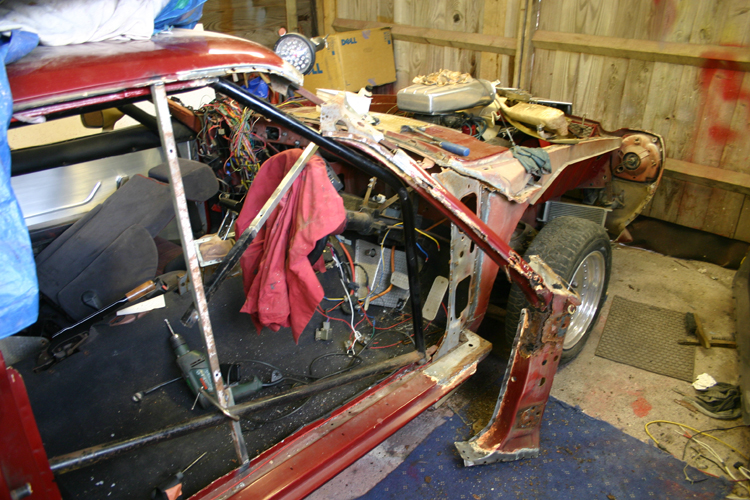
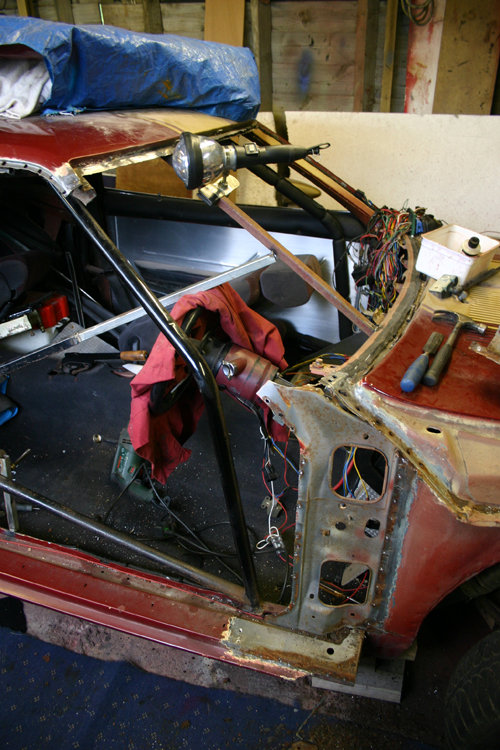
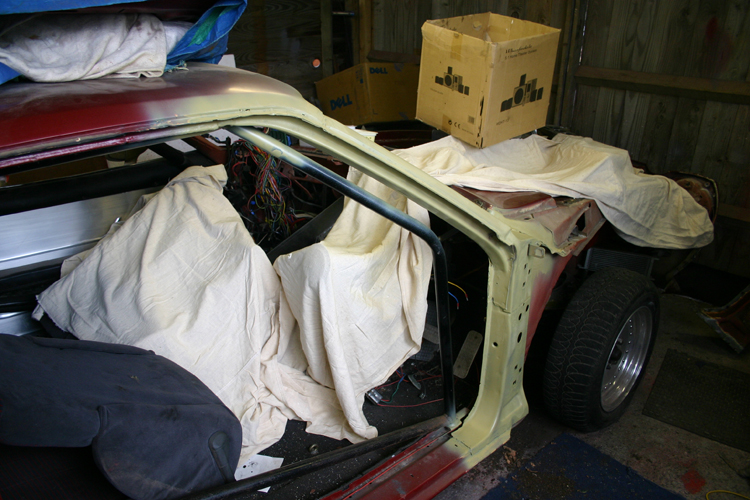
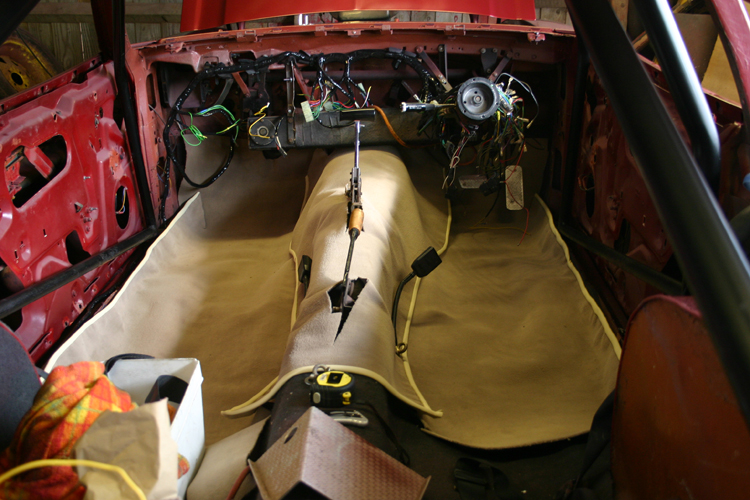
The original loom was that badly bodged up, I decided to design and build a new custom loom from scratch myself. I've used a modern fuse board so everything is separately fused . I could also incorporate the wiring for the new 'Autometer' guages.
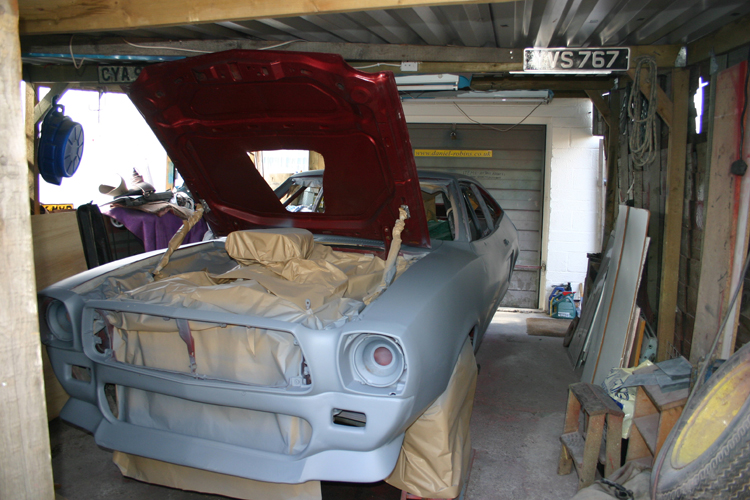

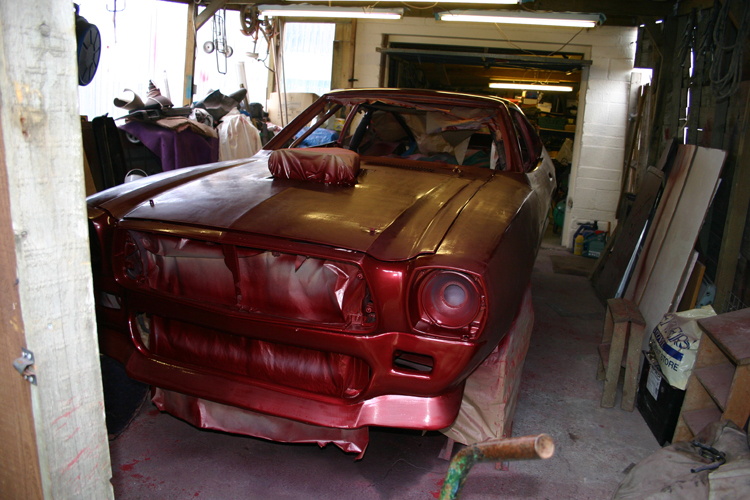
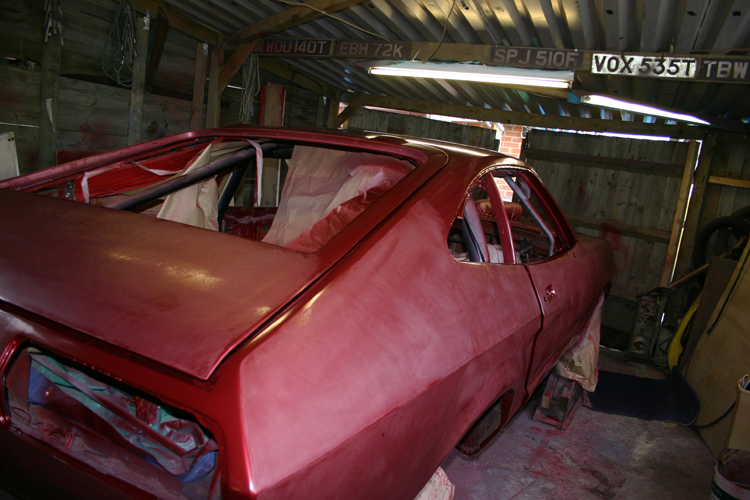
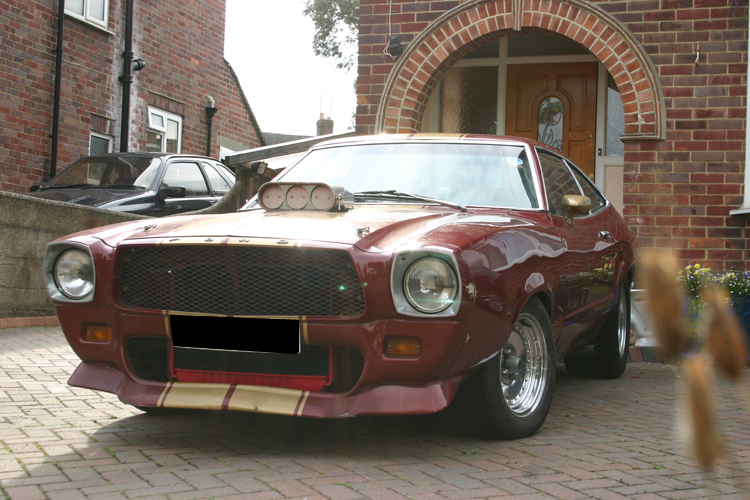
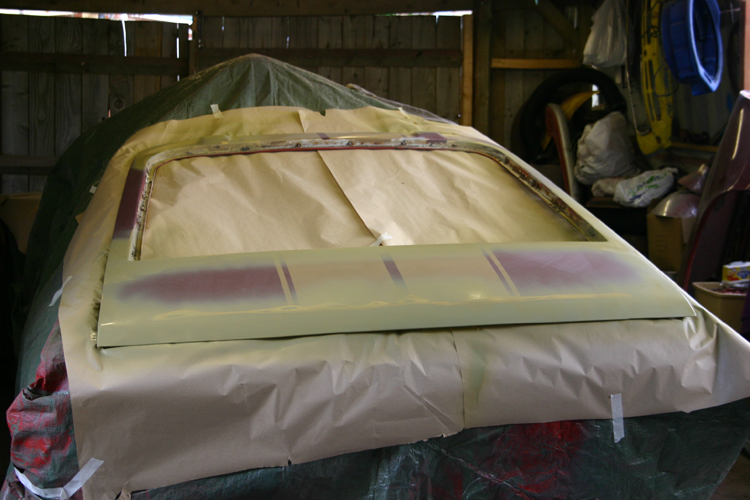
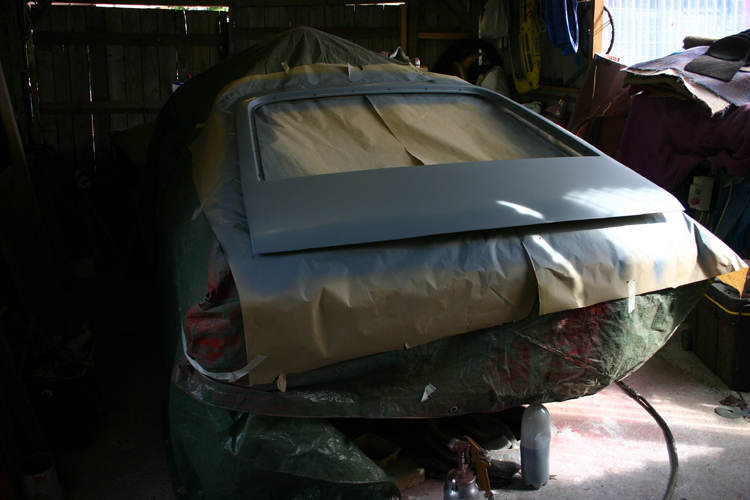
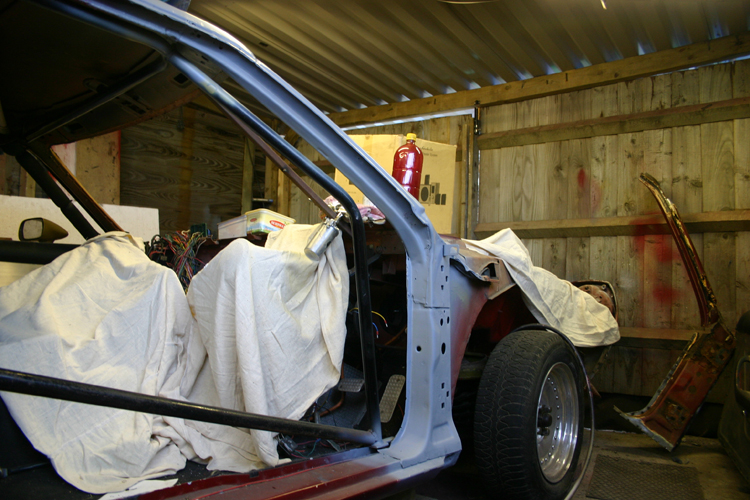
The bodywork was next for a makeover. I don't have to many pictures of this because I got a bit carried away and forgot to take any. But I managed to complete the respray during the nice spell of weather in March.
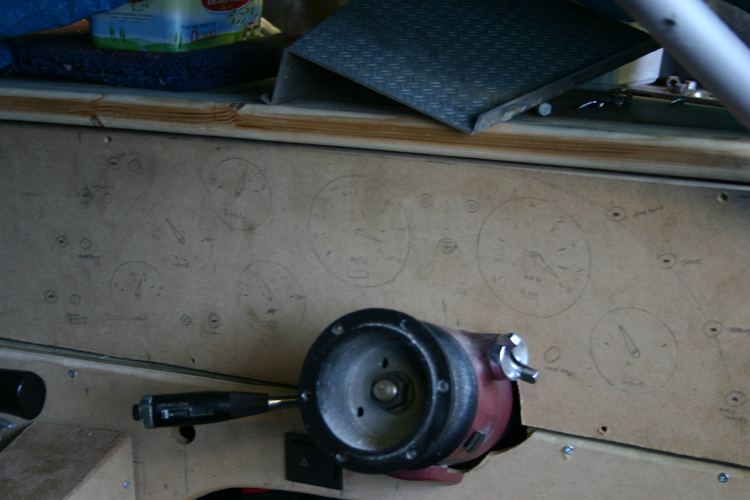
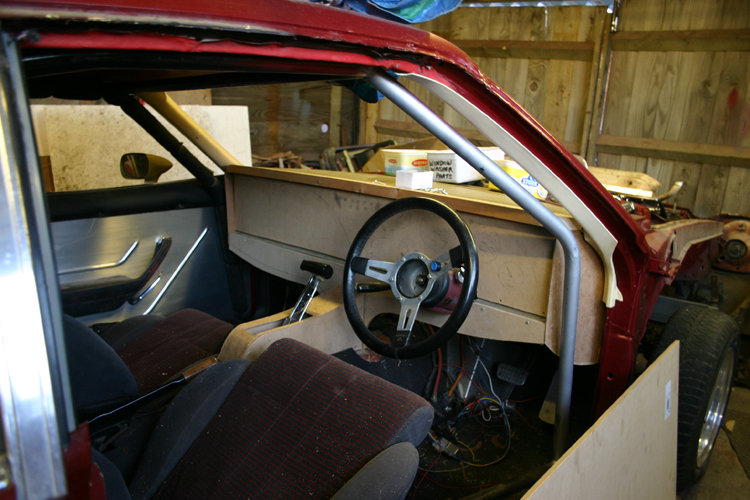
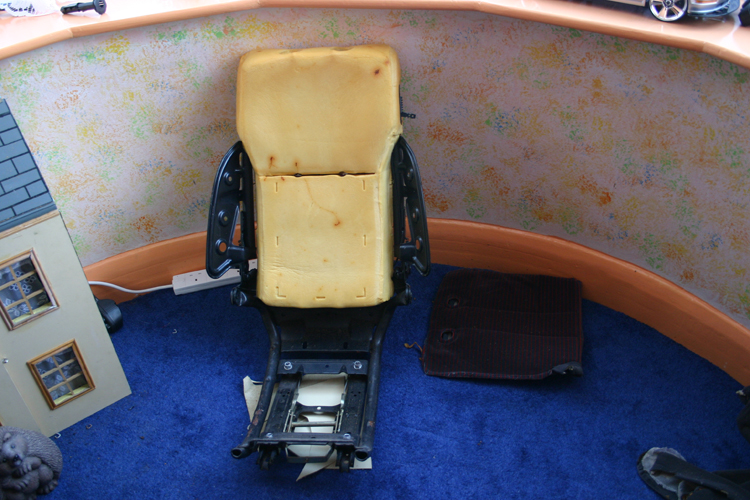
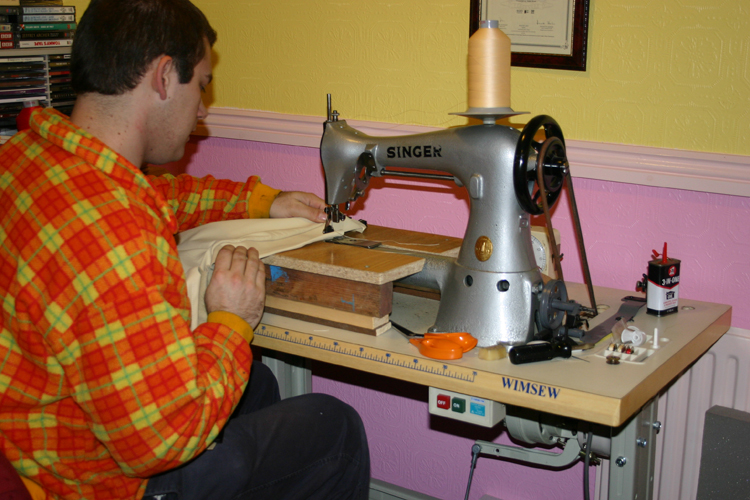
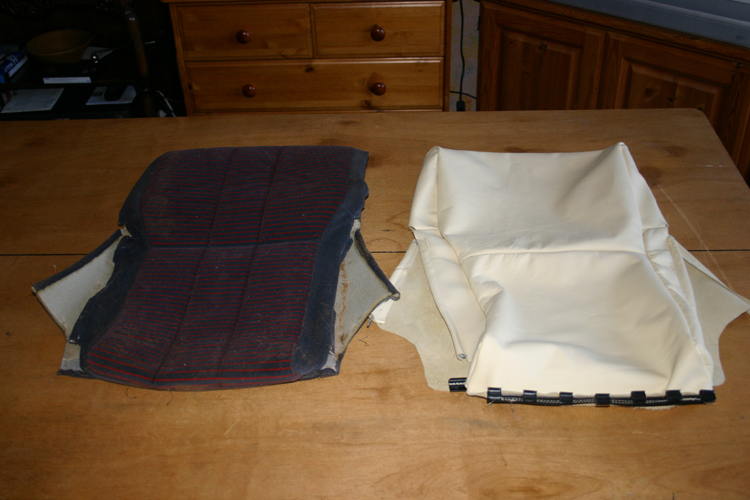
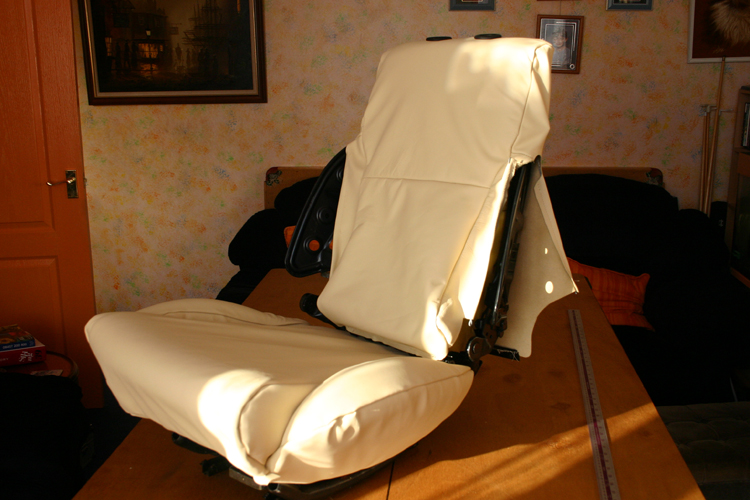
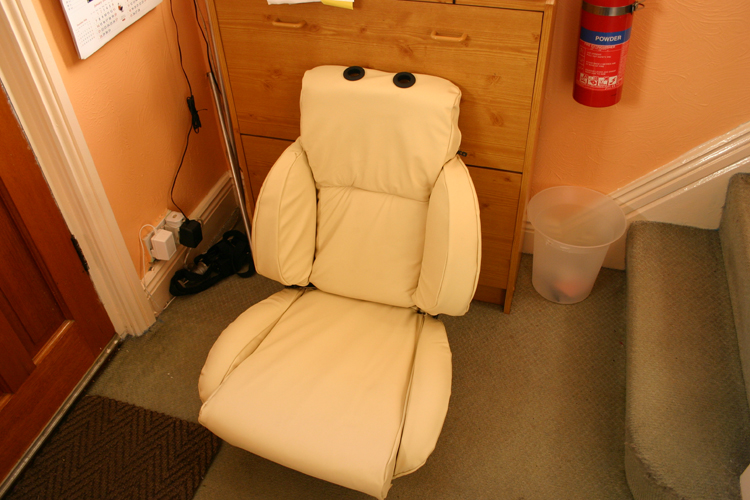
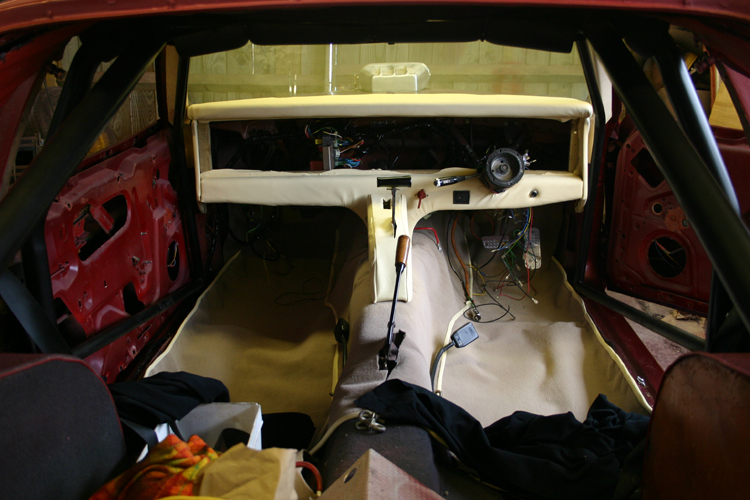
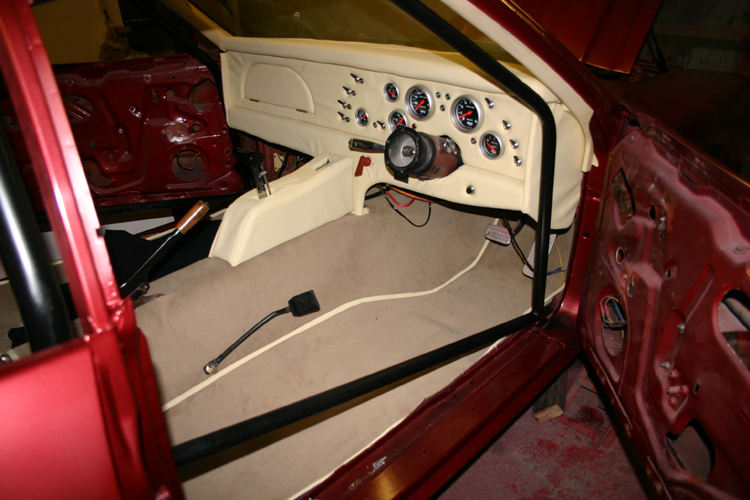
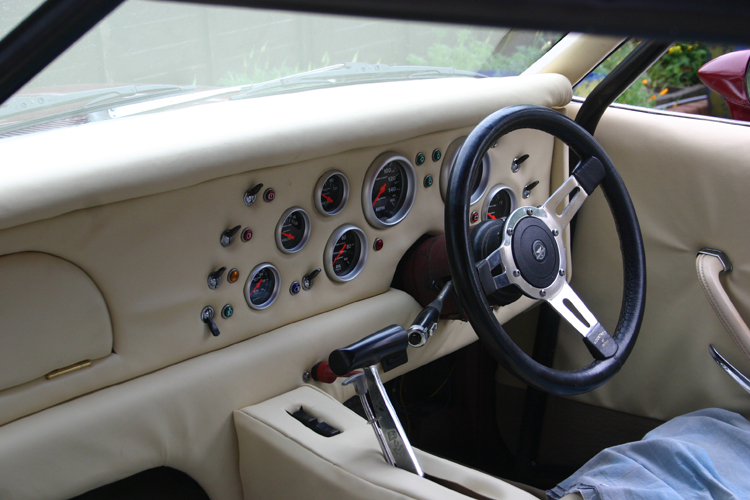
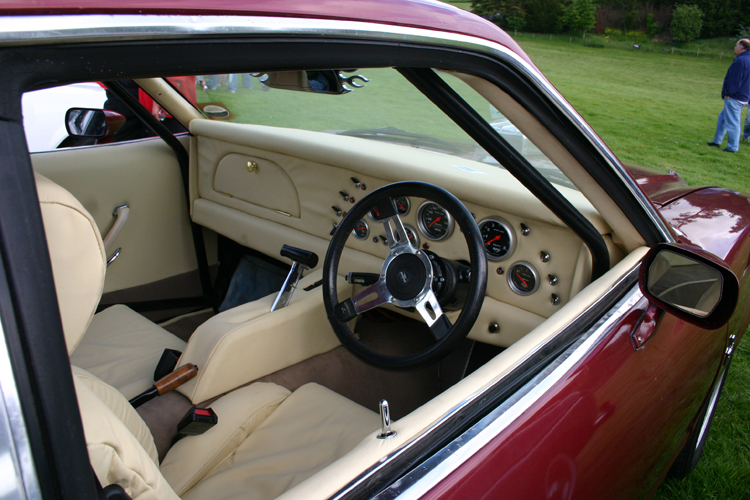
Next was the interior. Custom built dash, Autometer guages, full cream leather, all work carried out by me of course.
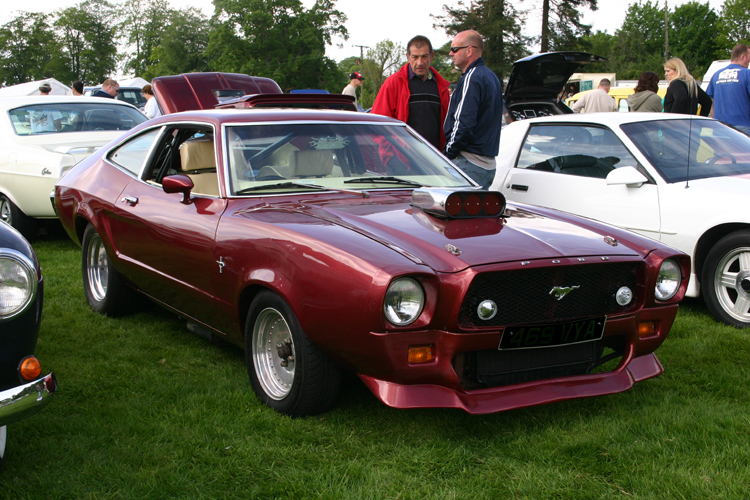


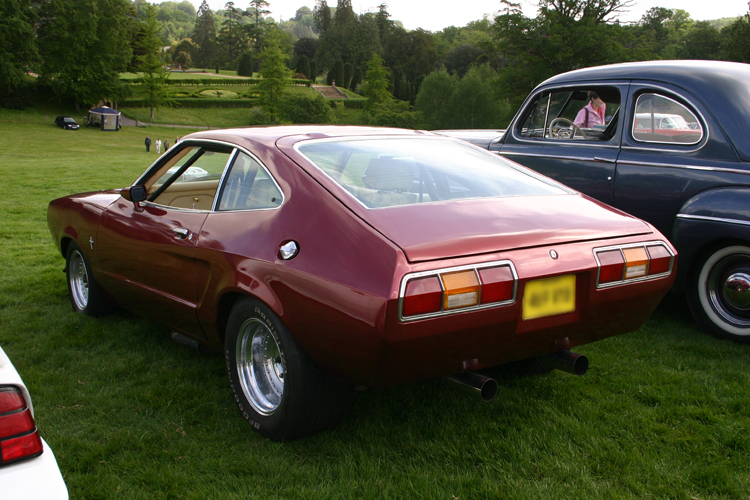
All finished, and this was the first outing (apart from the trip to the MOT), the Blue Ridge Runners weekend at Cricket st Thomas.
Still a few small jobs to complete though. I did meet the deadline, to finish in time to use as my sisters school prom car, with 2 days to spare. But due to the awful rain, and trouble with the seals over the doors, we decided to use my traveller instead of getting soaked!
So, was it worth all the effort? Definitely yes, just wish it wasn't raining for the prom. And do I have that dream car now? yes!
I think cobra stripes would spoil the clean lines now and draw the eye away from the car, so they will not be going back on.
I'll put a 'YouTube' up soon.